Routing
Click here to watch a video tutorial about routing.
Routing rules
Routing video through Live generally follows the same rules as routing audio. For example:
- When grouping tracks that contain videos or video instruments, the output of those tracks will be routed to the group track.
- Using a track's Send will send the video signal to the related Return track.
- Setting a track's output to "Sends Only" will only output video to Return tracks when Sends are used.
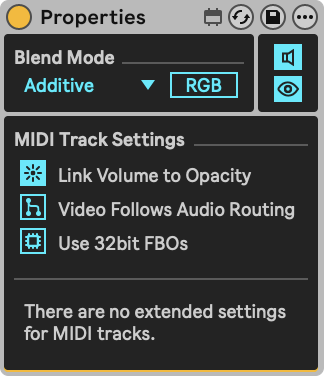
It is possible to unlink the video routing from the audio routing. While unlinked, the video output of the track will be routed to the Main Track. To do this, place a Properties device on the track you wish to unlink and disable "Video Follows Audio Routing":
Exceptions
There are also a few exceptions, as not every audio feature can be applied to video:
- Live's external audio inputs and outputs should be ignored while working with video. It is not possible to receive video from an external audio input. Instead, use the External In device on a MIDI Track for this. To output video, use Spout or Syphon.
- When an Audio Track's output has been set to an external audio output, the video on that track will be rendered straight to the Main track instead.
Racks
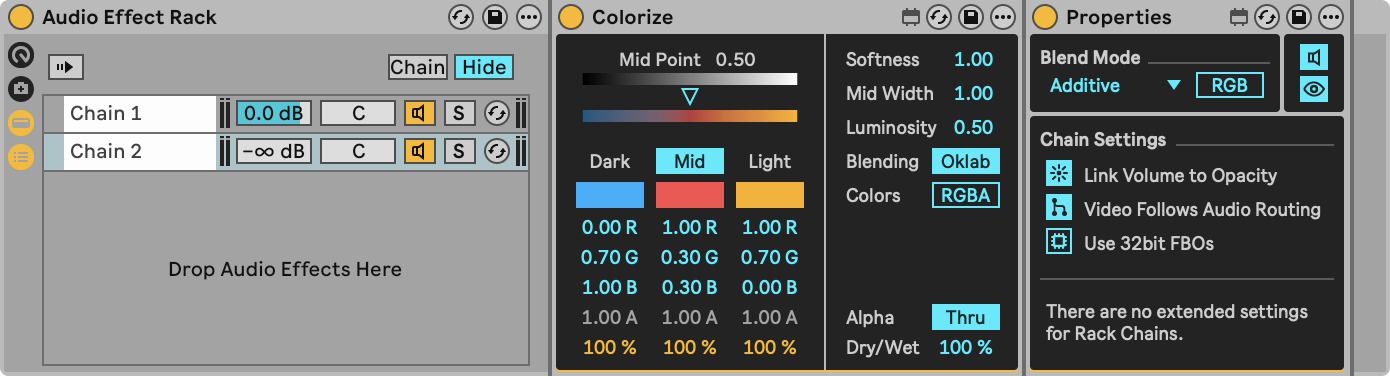
Like audio effects, video effects can be used on one or more chains inside of Racks. Similar to a Track Volume slider, a Chain Volume parameter controls the output of a chain. In the image below, Chain 2 is selected, but its Chain Volume is set to -inf dB, so that means only the output of Chain 1 is currently visible.
Note that the Properties device can also live in Chains and control parameters of its host Chain.
Routing diagram
The following diagram gives a general impression of how video routing works in Live. The diagram is not exhaustive and does not cover all possible routing scenarios.
Track order and additive blending
The default blend mode for each track is Additive. In this mode, video behaves similarly to audio: the more you add, the brighter or louder the output becomes. Essentially, playing multiple videos on different tracks will cause their images to be combined, resulting in a brighter overall picture. You can adjust this effect by using the volume slider on each track or by selecting a different blend mode.
Technically, the Additive blend mode works by adding the color values (RGB) of each pixel from all active videos on every track. This means that track order does not affect the outcome.
When using blend modes other than Additive, the order of the tracks does become important. For more information on blend modes, visit the Blending page.
To illustrate this, in the diagram below we take a single pixel of the output of Track 1 and another of Track 2. When these two pixels are combined, the result is the pixel of the Main track. Colors are often written in ranges of 0-1, so if we take the Green channel for example, adding 0.698 to 0.933 results in 1. If this happens on every color channel, like it almost does in the example below, the resulting pixel will be white.