Your first video plugin
Loading an example
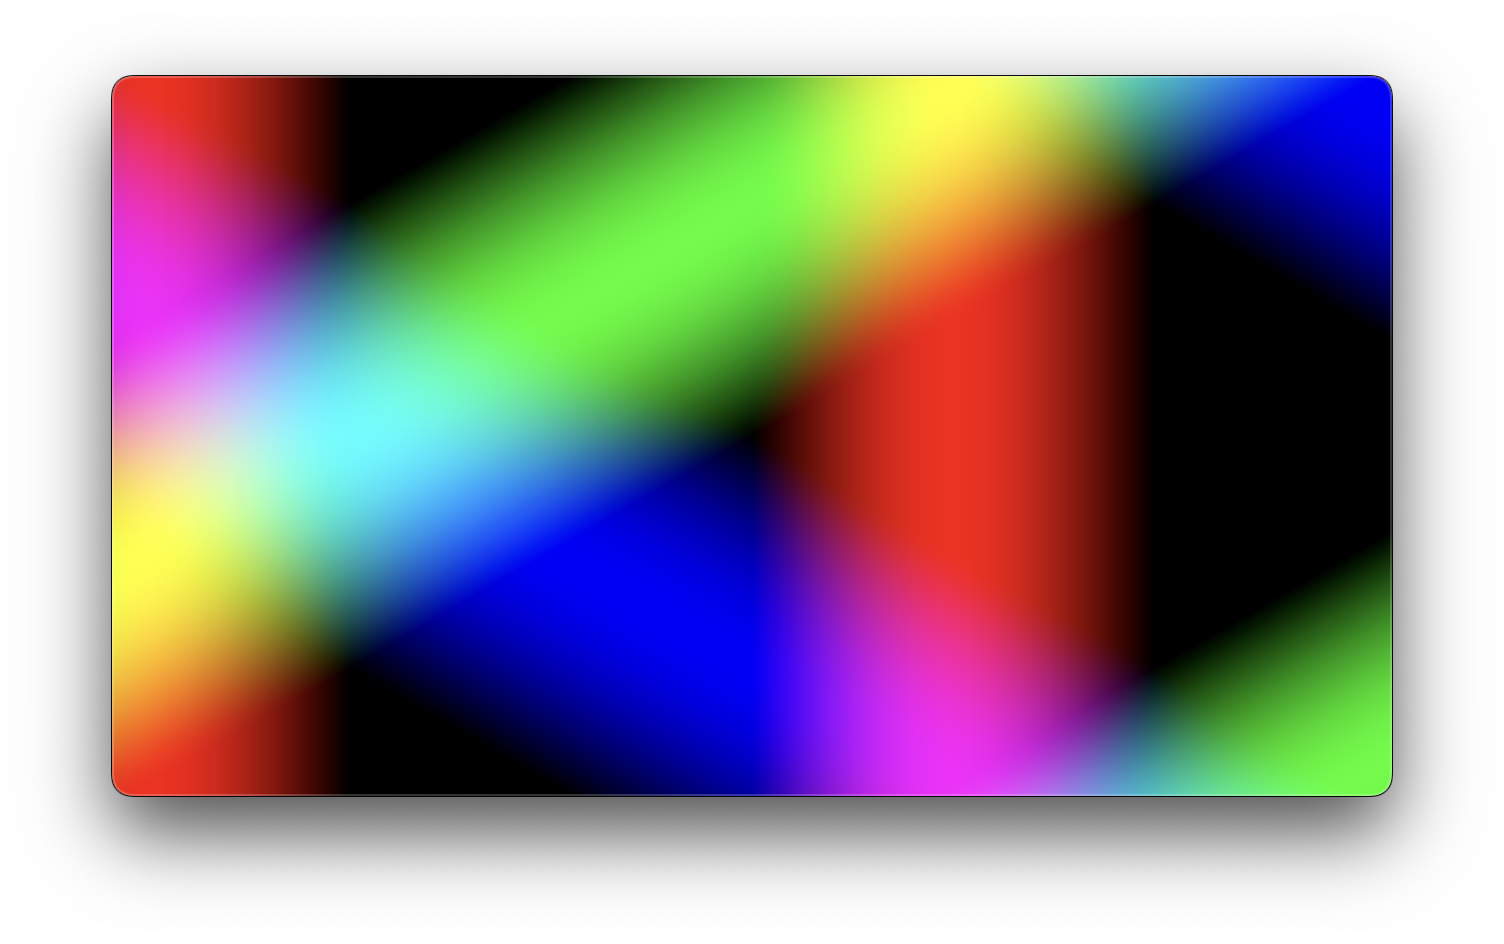
The easiest way to build a new plugin is to start from an example. Drag Lines.amxd from the Examples folder into an empty MIDI track. If Videosync is running, you should see the following pattern:
The following steps will show you how to build an improved version of this plugin.
Making a copy
- Makes a new folder within the Plugin SDK folder, and name it
Better Lines. Then copyLines.amxdandLines.fs, and then paste them into the Better Lines folder. To keep things clear you can also rename both files toBetter Lines.amxdandBetter Lines.fs.
The plugin files do not need to have the same name as the folder they are in, but it might be an easy convention.
- Start with a new Live Set and drag
Better Lines.amxdonto a MIDI track in Live. The plugin is not yet functional so Videosync should throw an error in the console: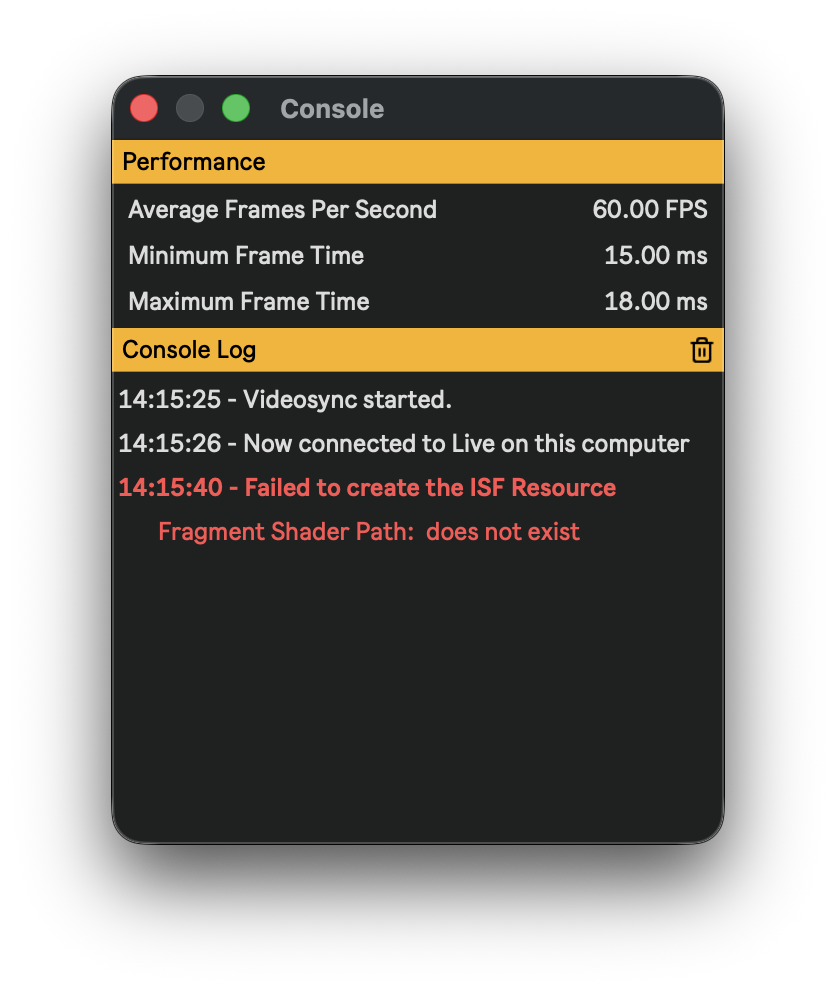
- Open the plugin for editing by clicking "Edit in Max" in the device's context menu.
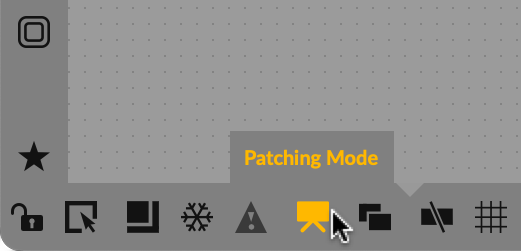
- Switch to Presentation Mode by pressing the Patching Mode button in the footer bar of the patch window.
- Change the content of the message box from
isfName LinestoisfName "Better Lines".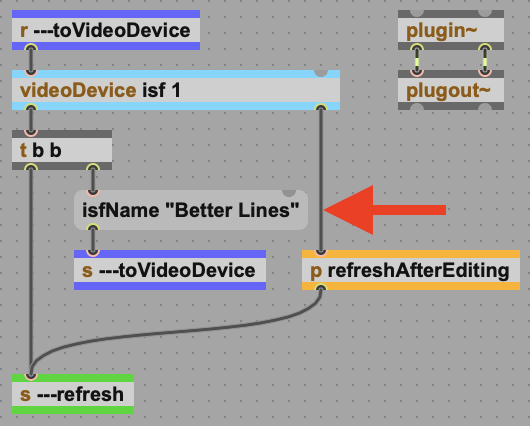
This message tells the plugin the name of the shader files (.fs and optionally .vs). The two shader files should always share the same name (except for the extension).
- Save the plugin and close Max. Your new Better Lines plugin should now work like Lines did. Let's start improving it!
Changing the shader
- Open
Better Lines.fsin a text editor.
You can start editing shaders with a simple editor like TextEdit. Eventually you may want to use a more advanced editor, like Visual Studio Code that supports code highlighting for GLSL files.
- Let's start by making the rotations of the lines a bit more interesting. Locate the lines that calculate the red, green and blue pixel colors. For green, add
* 2behind both occasions ofradians. For blue, let's make that* 3. The code should now look like this:
float red = sin((x * cos(radians) + y * sin(radians)) * density);
float green = sin((x * cos(radians * 2 + TWO_PI * 1/3) + y * sin(radians * 2 + TWO_PI * 1/3)) * density);
float blue = sin((x * cos(radians * 3 + TWO_PI * 2/3) + y * sin(radians * 3 + TWO_PI * 2/3)) * density);
float alpha = 1;
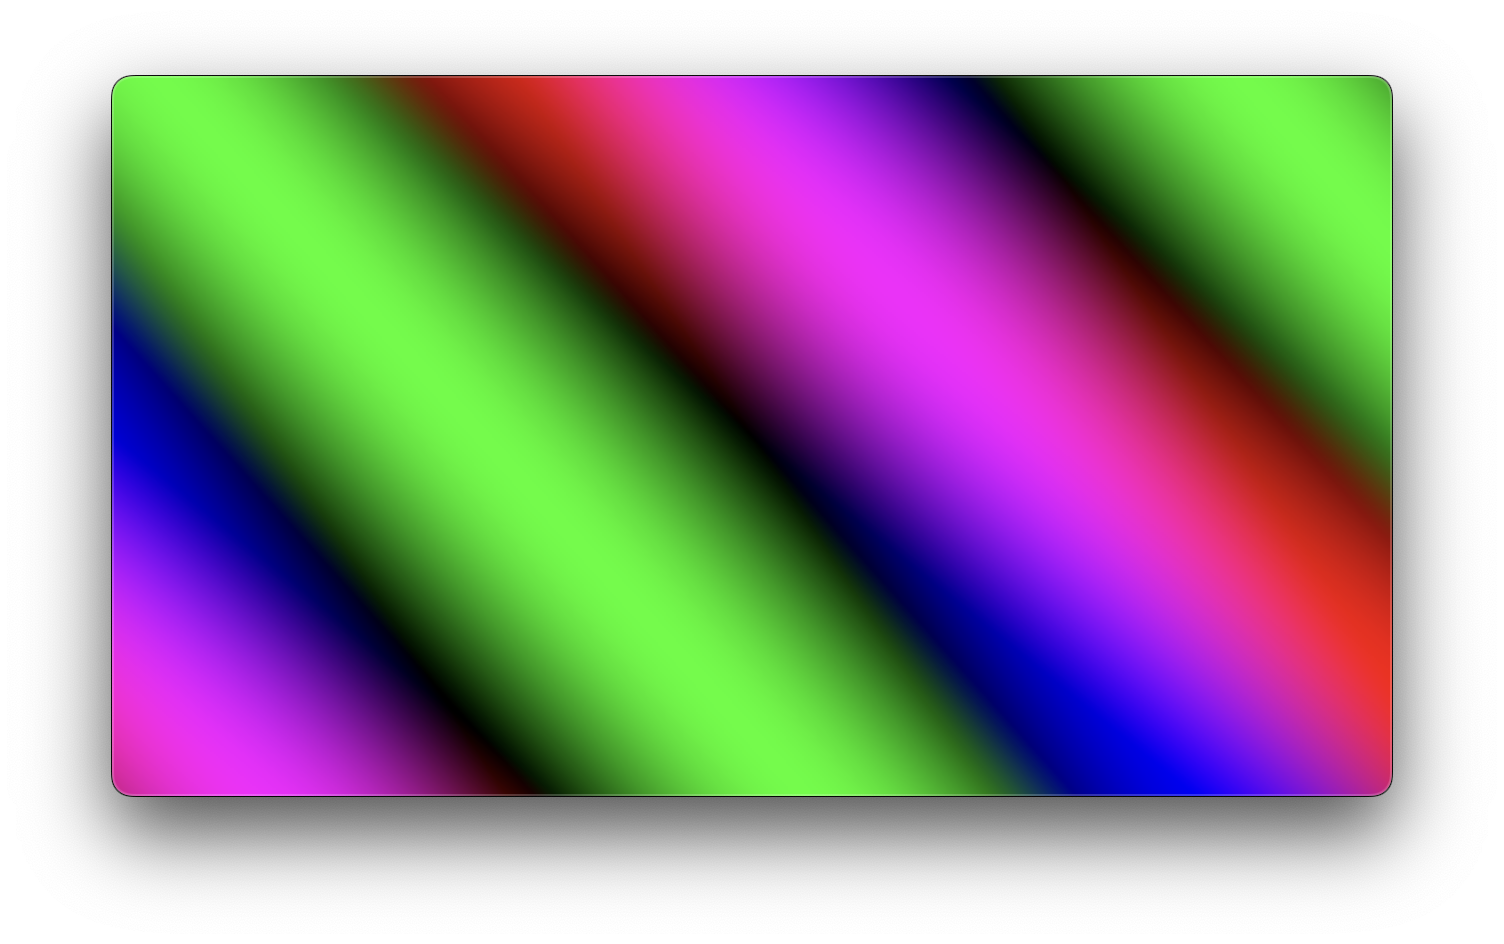
- As soon as you save the file, the changes are applied. Changing the Rotation control in the M4L interface should now now no longer just rotate the lines but move them in respect to each other, overlapping and mixing colors:
- Let's make this plugin even better by adding an extra control!
Setting up a new control
- Open up the Max For Live plugin by clicking "Edit in Max" in the device's context menu again.
- Select the two objects that make up the Density control, duplicate them (Cmd+D or Alt+drag) and position them to the right.
- Change the new message object from
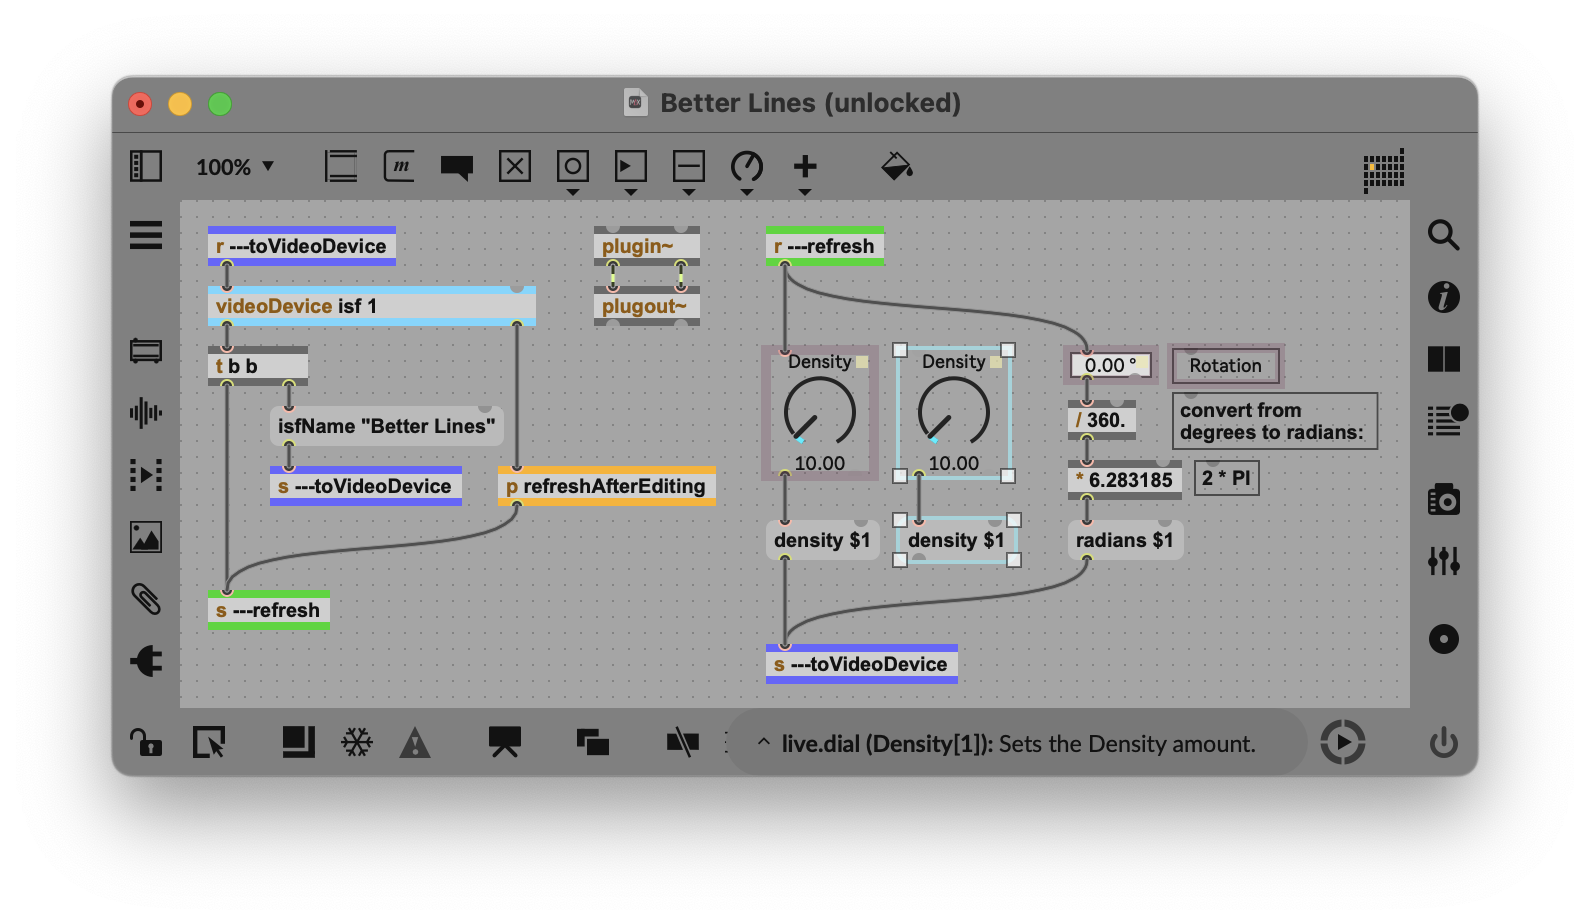
densitytothicknessand connect them like the other controls. - Right-click the new [live.dial] and select Inspector. This opens up a list of properties for this control.
- Scroll down the list until you find the Long Name and Short Name fields. Change their values to Thickness.
The Long Name field uniquely identifies how this control is saved and controlled in Live. The Long Name is also what you will see when selecting this control in an automation lane in Live.
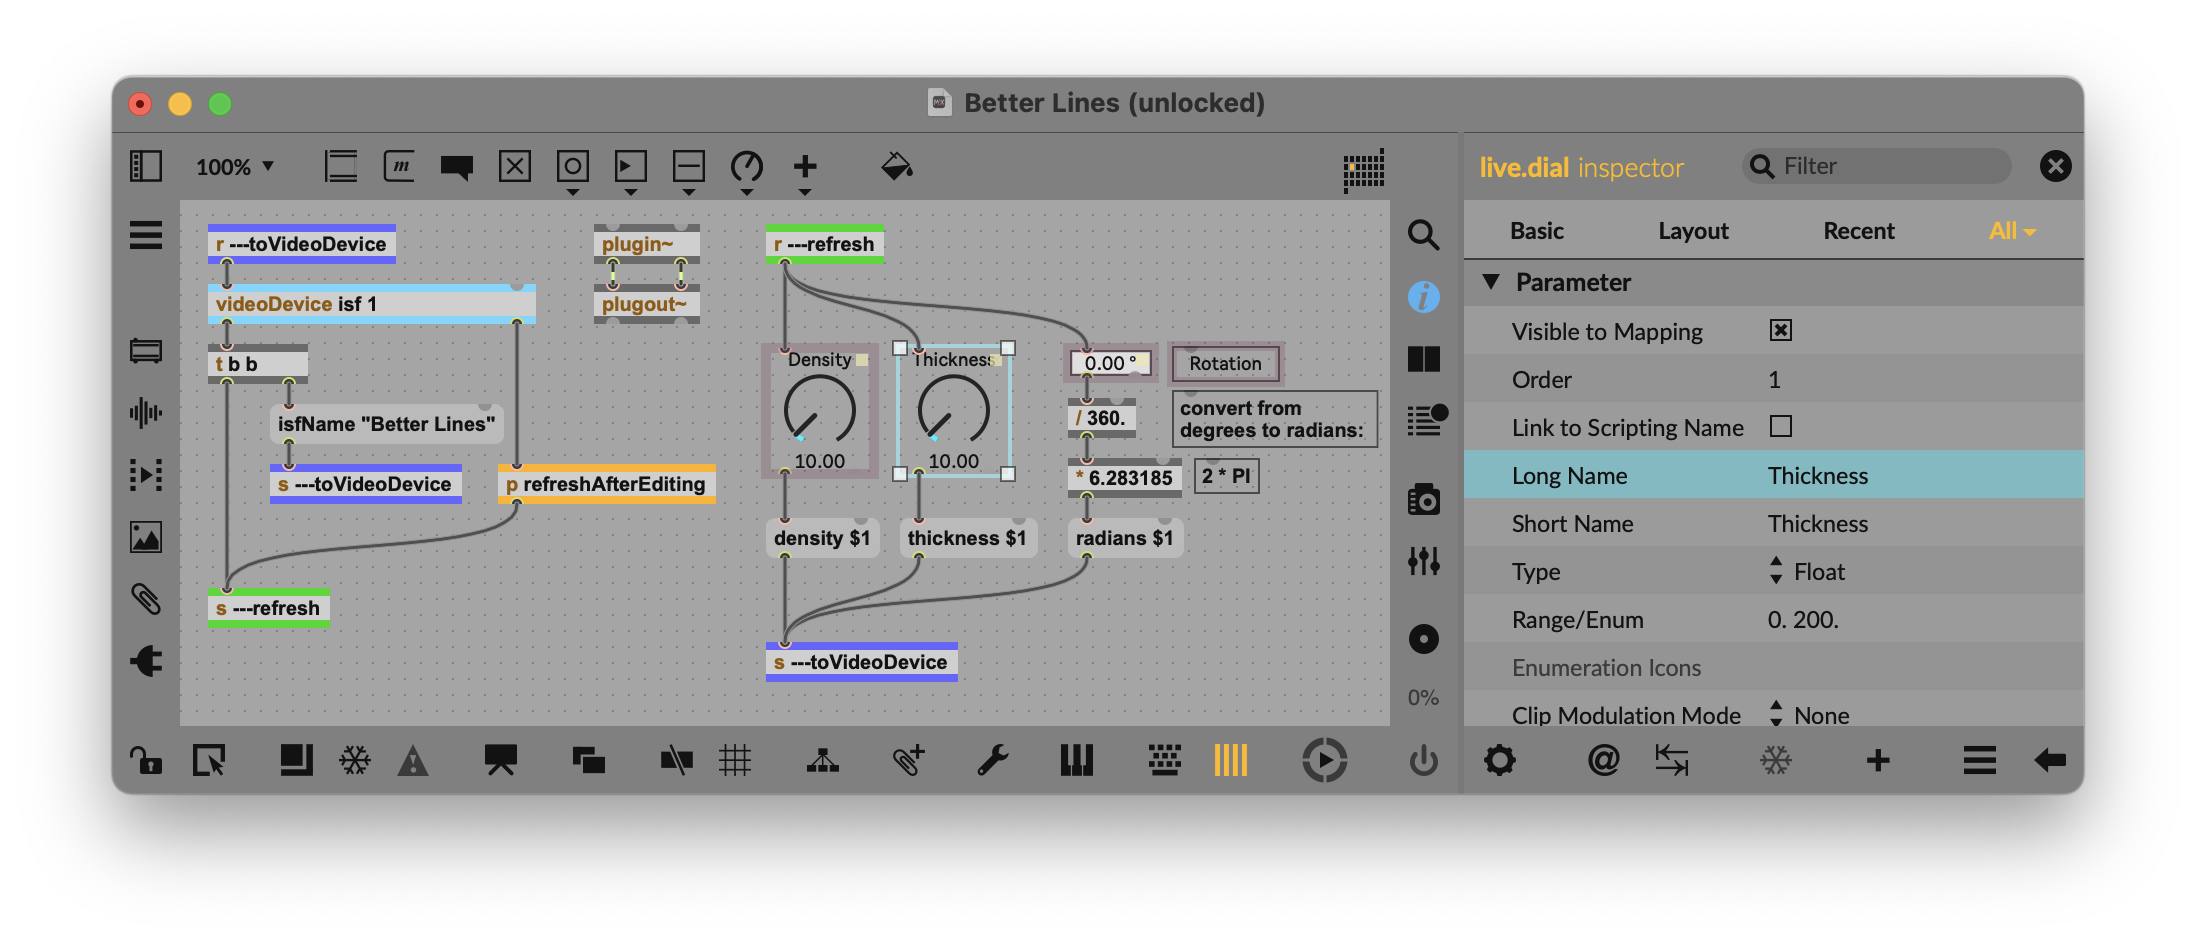
- Also set the following fields: Range/Enum to
0. 1.and Initial Value to0.5. Your inspector window should now look like this: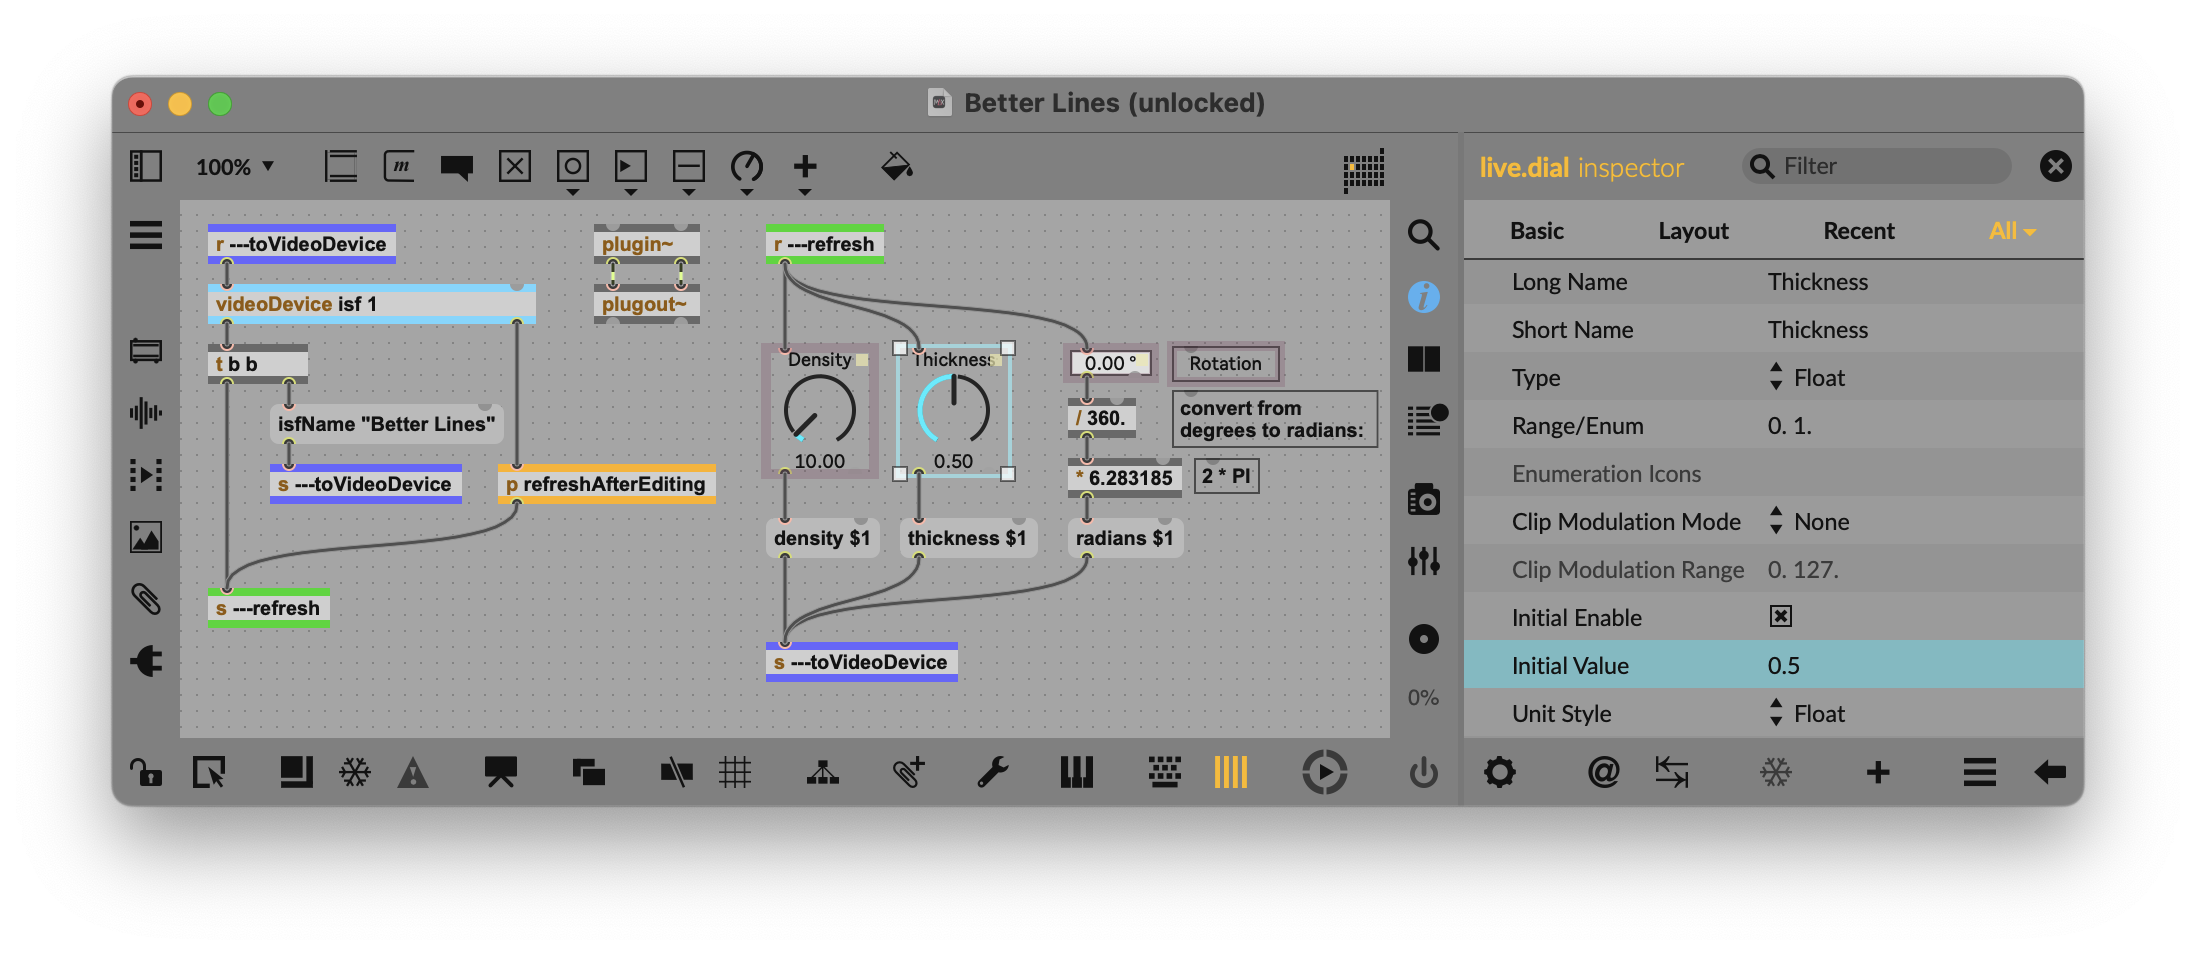
- Finally, switch back to Presentation Mode by clicking the Patching Mode button again. You will see that the new Thickness control is not positioned correctly. If you want your interface to look neat in Live, you may want to align it under the other controls:
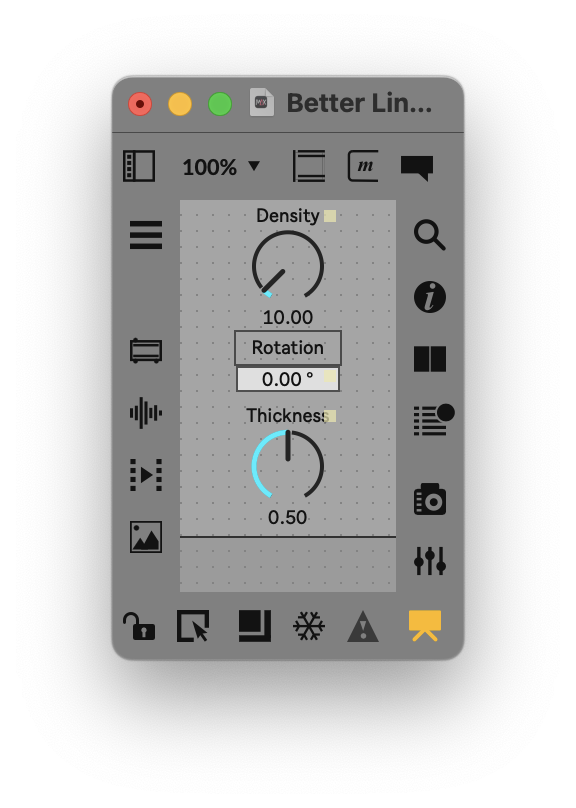
- Close Max and save the plugin, you are now ready to implement the new parameter in the shader.
Implementing the new parameter
- It's time to go back to the plugin code in
Better Lines.fs. The header contains the definitions of the parameters available to your plugin. Let's add the thickness parameter here. After the closing bracket of the definition of the density parameter, add a comma:},. Then, on the following line, add the following code:{
"NAME": "thickness",
"TYPE": "float",
"DEFAULT": 0.5
} - We can now use the thickness parameter in the calculation of pixel values. The way we have in mind requires two steps:
- Above the line that calculates the red color, add:
float offset = thickness * 4 - 2;- In each of the lines that calculate a color, add
+ offsetat the end, before the semicolon. Your code should now look like this:
float red = sin((x * cos(radians) + y * sin(radians)) * density) + offset;
float green = sin((x * cos(radians * 2 + TWO_PI * 1/3) + y * sin(radians * 2 + TWO_PI * 1/3)) * density) + offset;
float blue = sin((x * cos(radians * 3 + TWO_PI * 2/3) + y * sin(radians * 3 + TWO_PI * 2/3)) * density) + offset;
float alpha = 1; - As soon as you save your code, the Videosync output image should change. If the Thickness control in the Max For Live plugin was still set to
1.0after changing its range in the Inspector, you will now see a white image. Dial down and you should see the lines re-appearing, say at0.8: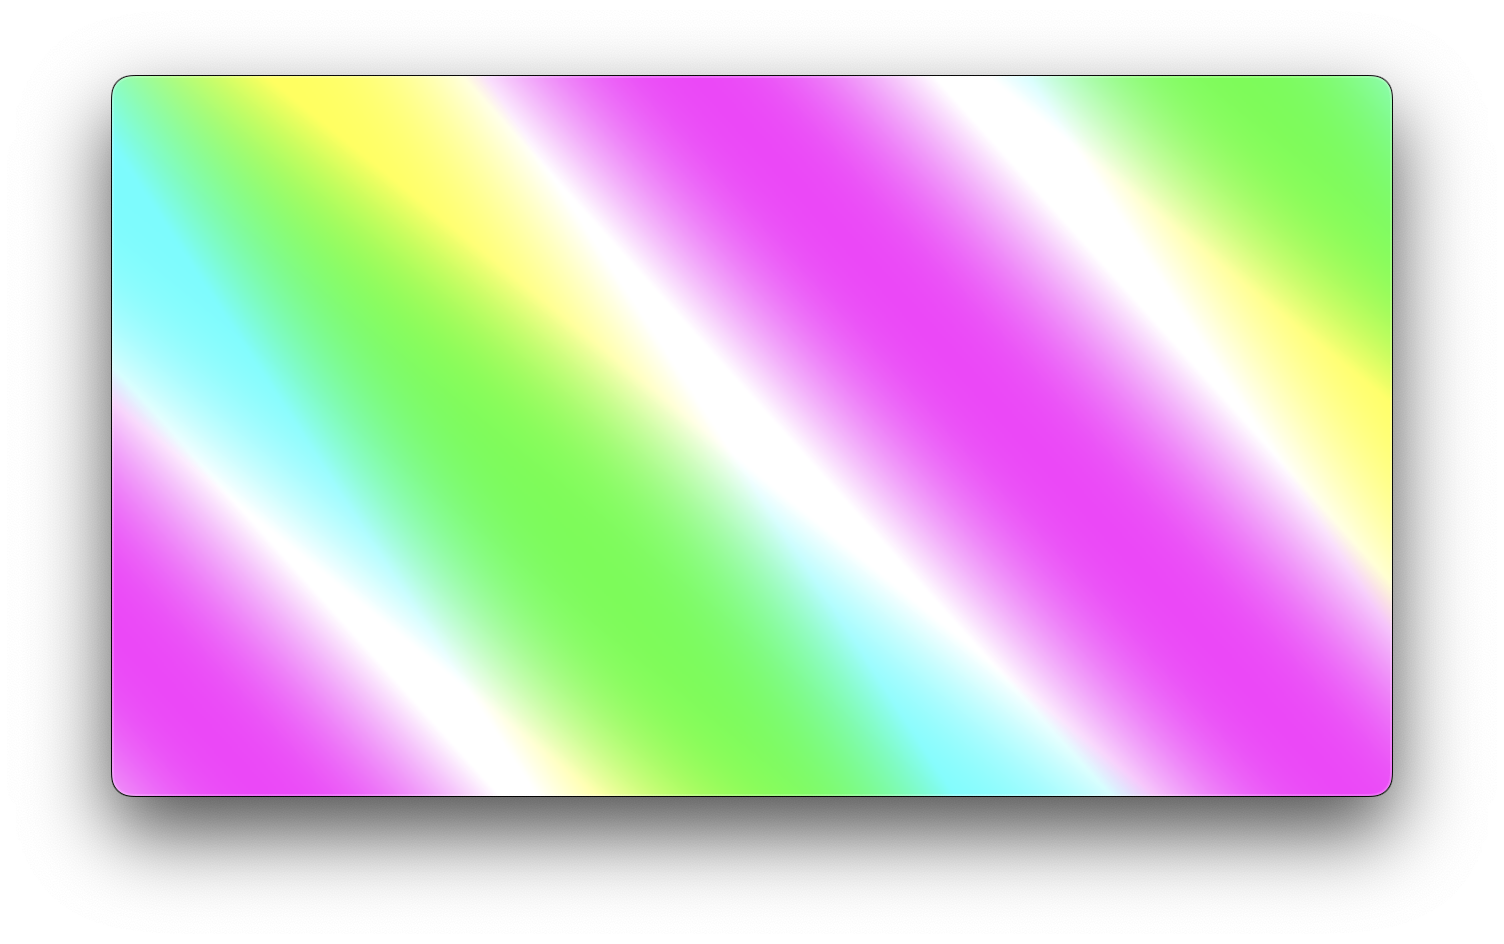
- Your new control is done! You can control it with a MIDI controller or automate it in Live's Session and Arrangement views to create a musical video composition.
This plugin doesn't use any image input, effectively acting as an instrument. To learn how to make an effect plugin, read on!