Your first composition
Open a new, empty project in Live, and let's add some Beam devices to control the fixtures in the visualizer.
Controlling Pars
In terms of control, one of the simplest types of fixture is a Par. The Par 64 fixtures just have a single channel, which controls their intensity.
To control this intensity musically, add a Par device to a MIDI track in Live. You will find the Beam devices in the User Library folder, in the Live Browser. You can just drag the device from the browser onto a MIDI track.
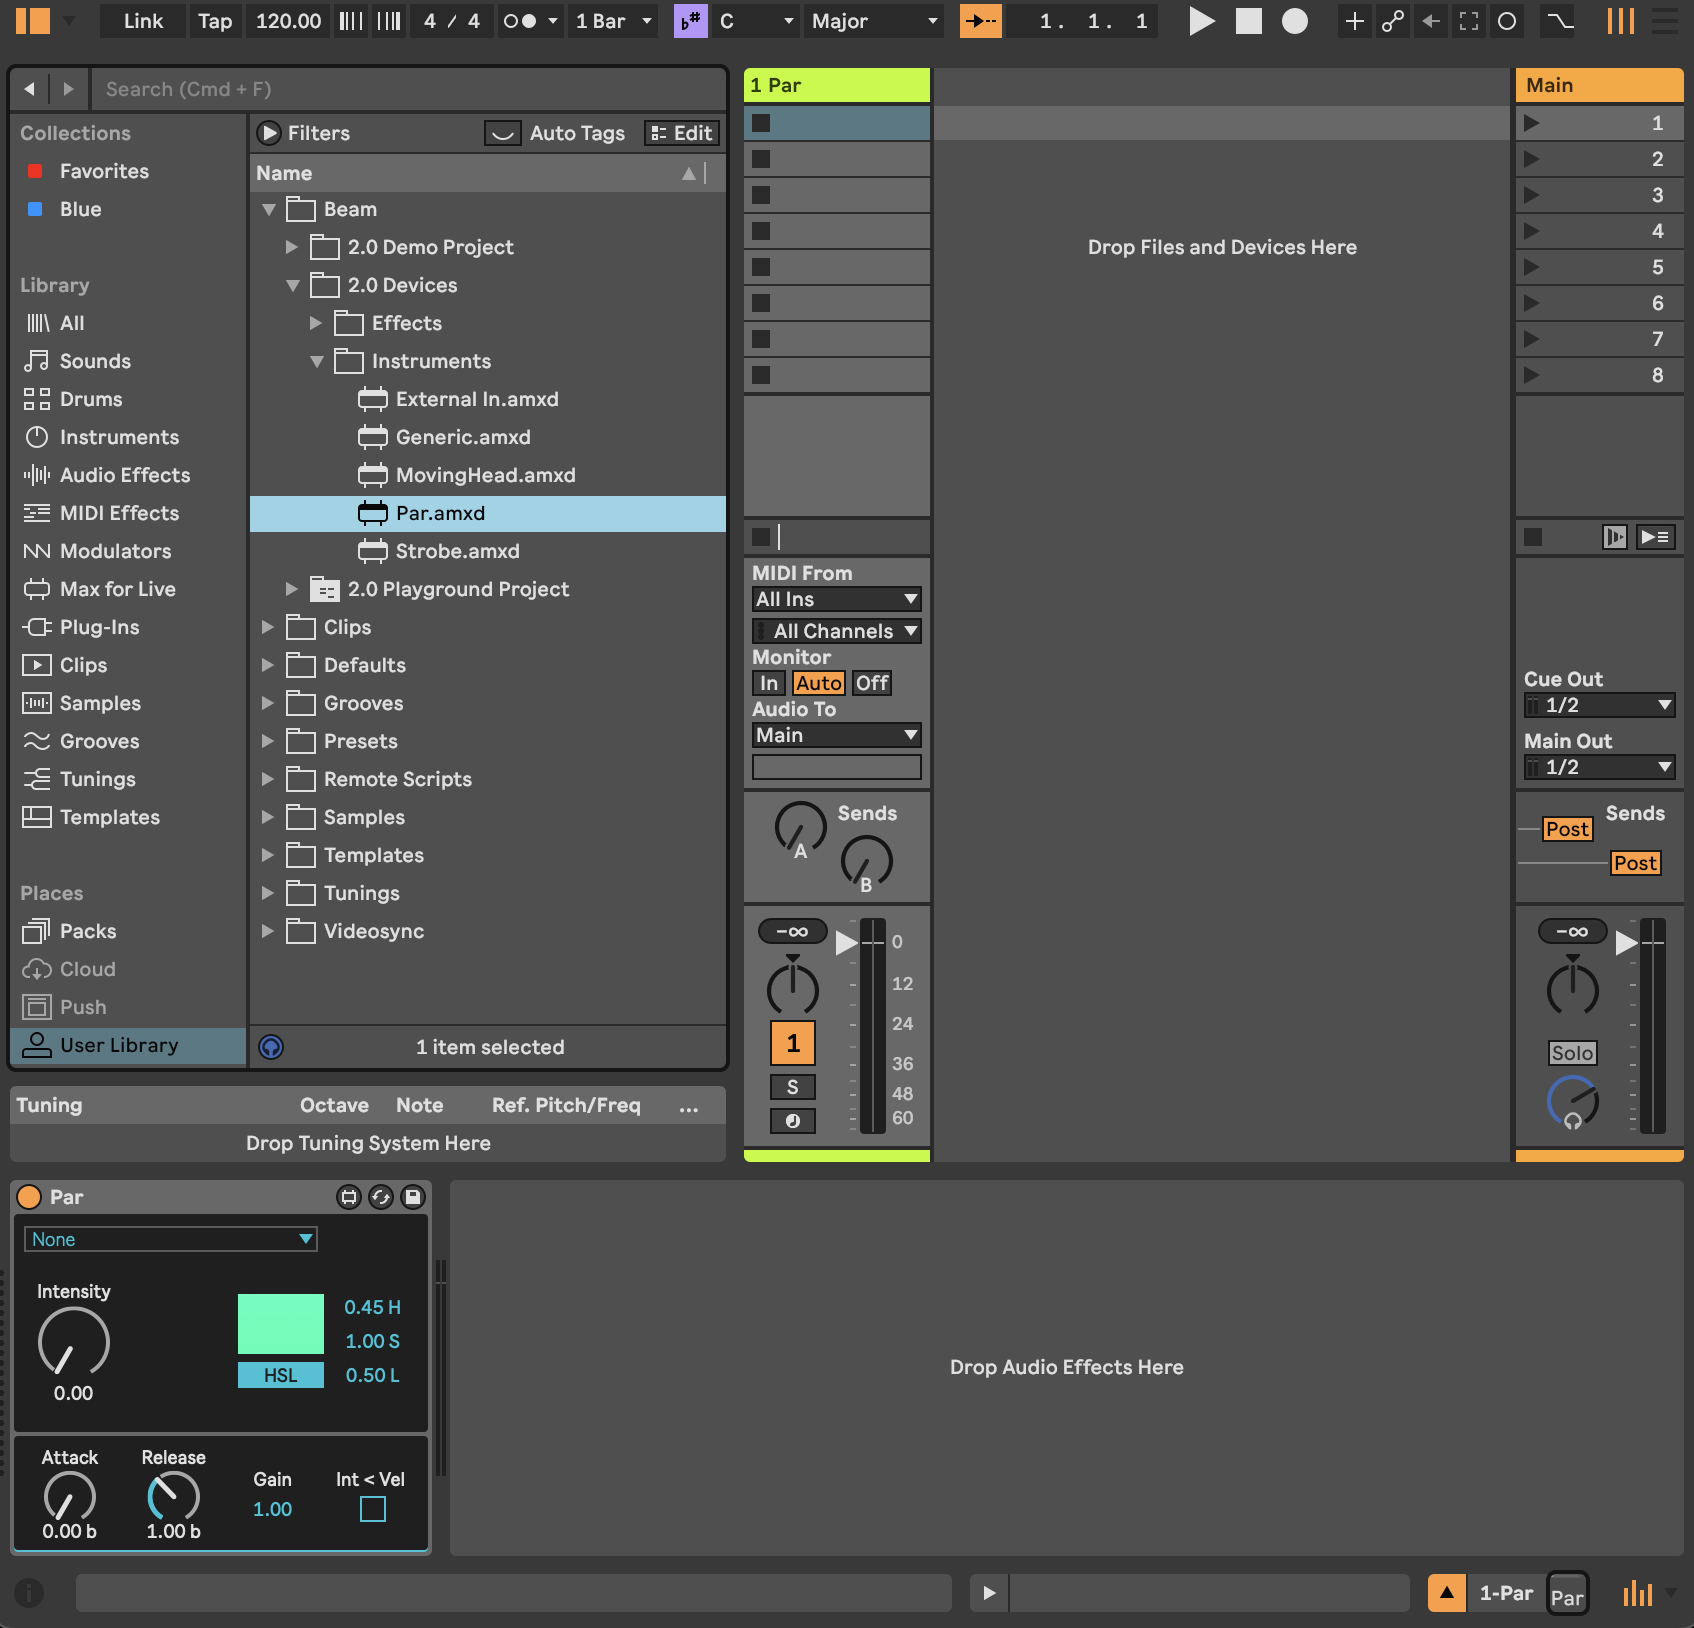
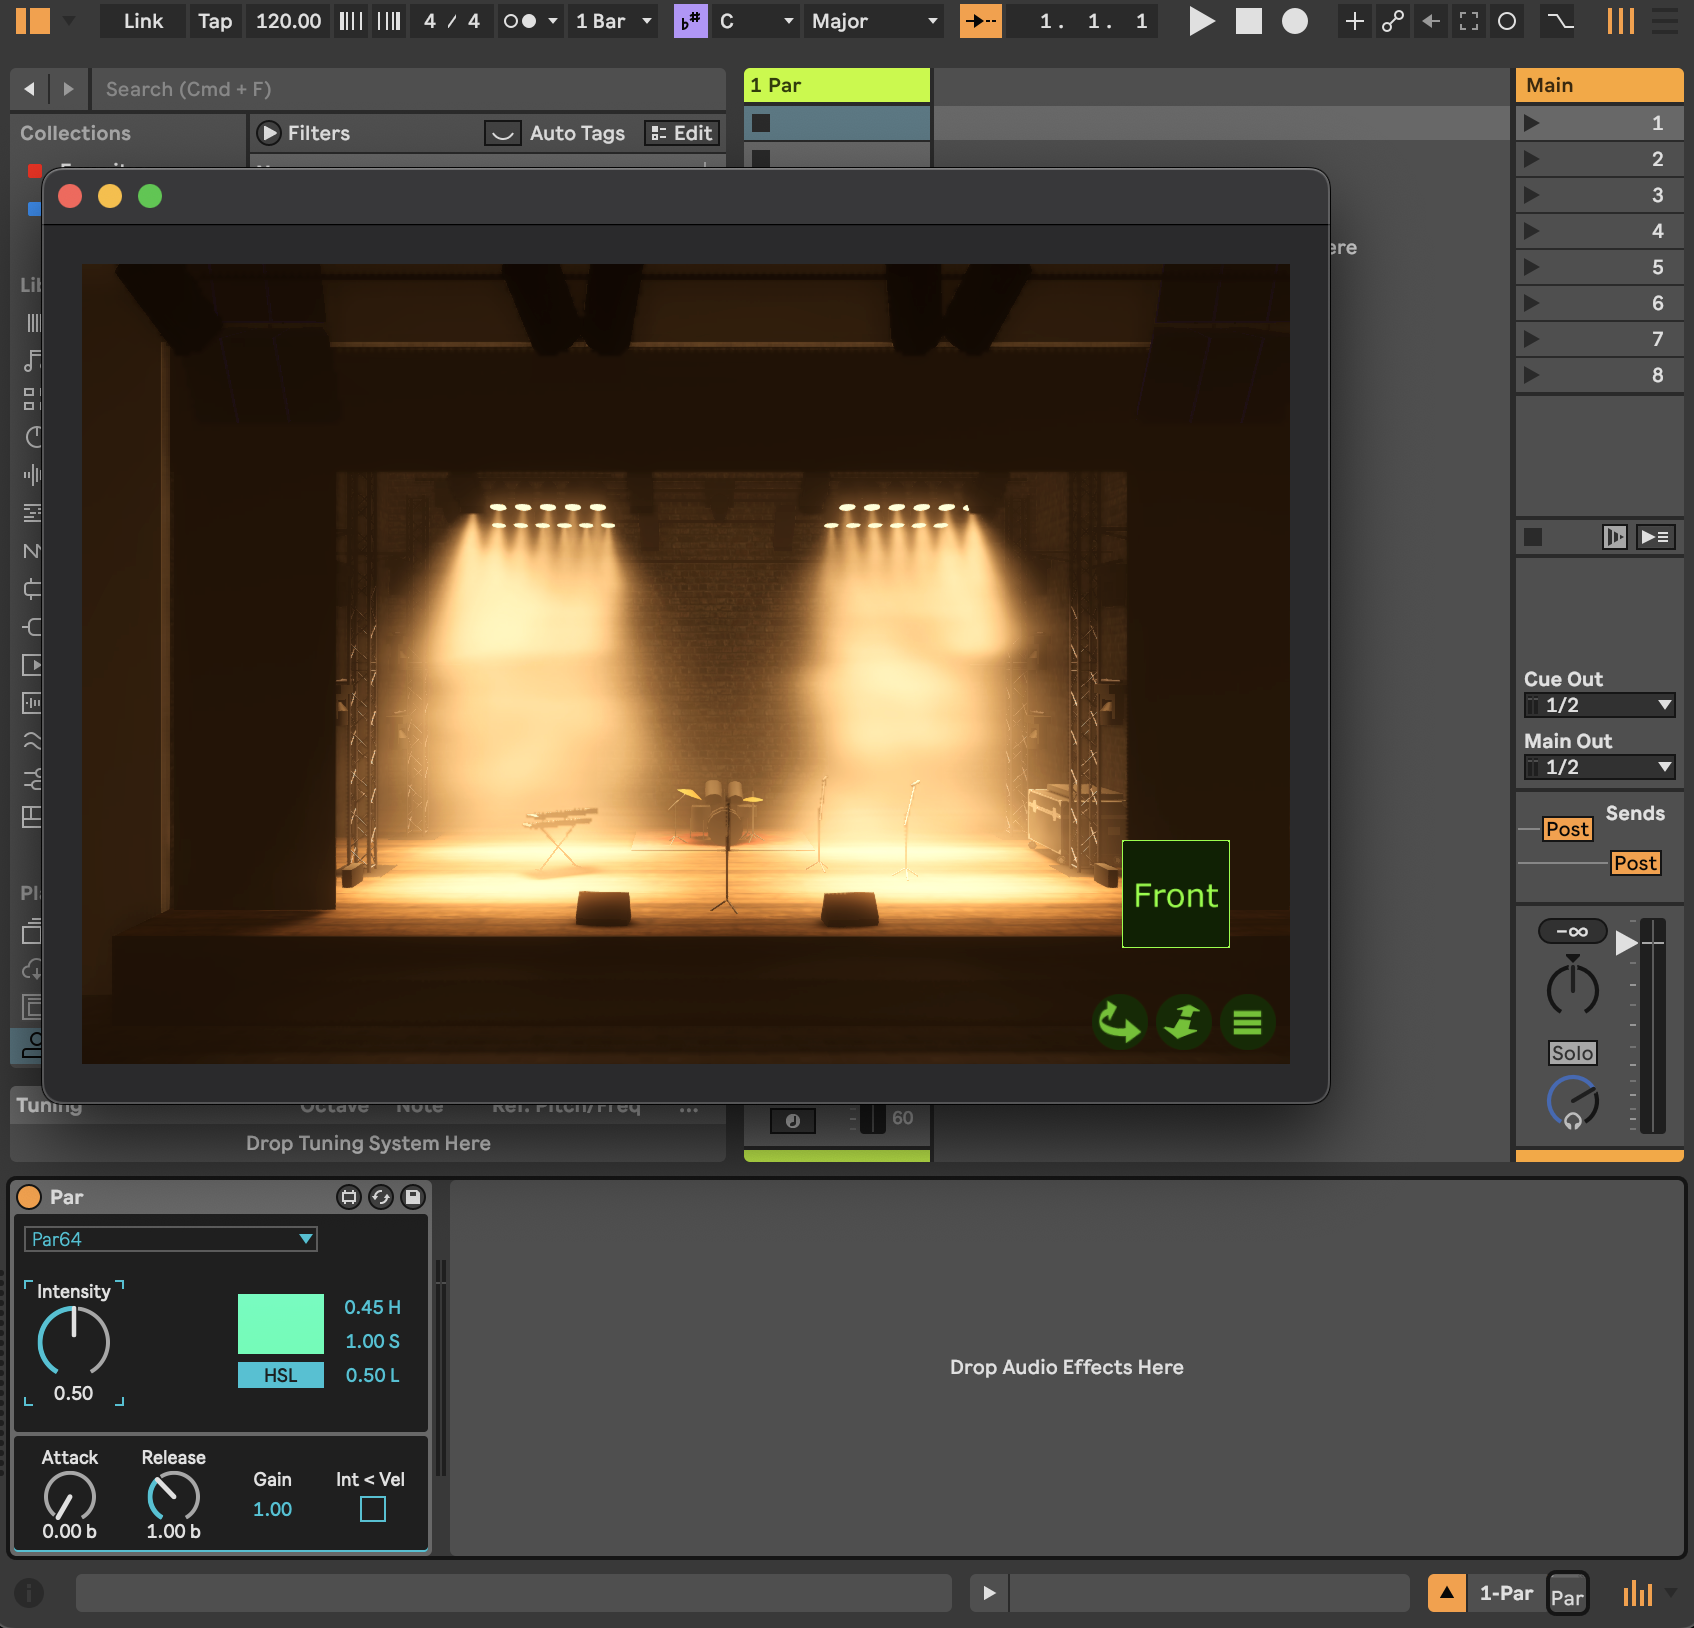
Notice that in the Tags dropdown, no Tag is selected yet. The dropdown contains all the Tags that have been assigned to groups of fixtures in the Beam's Fixture Patch. Let's choose the Par64 group.
The Par64 tag was assigned to all the Par 64 fixtures in Beam's Fixture Patch, so we can now use this device to control all the Par 64 fixtures. Increase the value of the Intensity dial to see all the Par 64 lights light up.
Making it musical
One straightforward way to control the intensity of these fixtures musically would be to automate the Intensity control in a clip. But let's try something different.
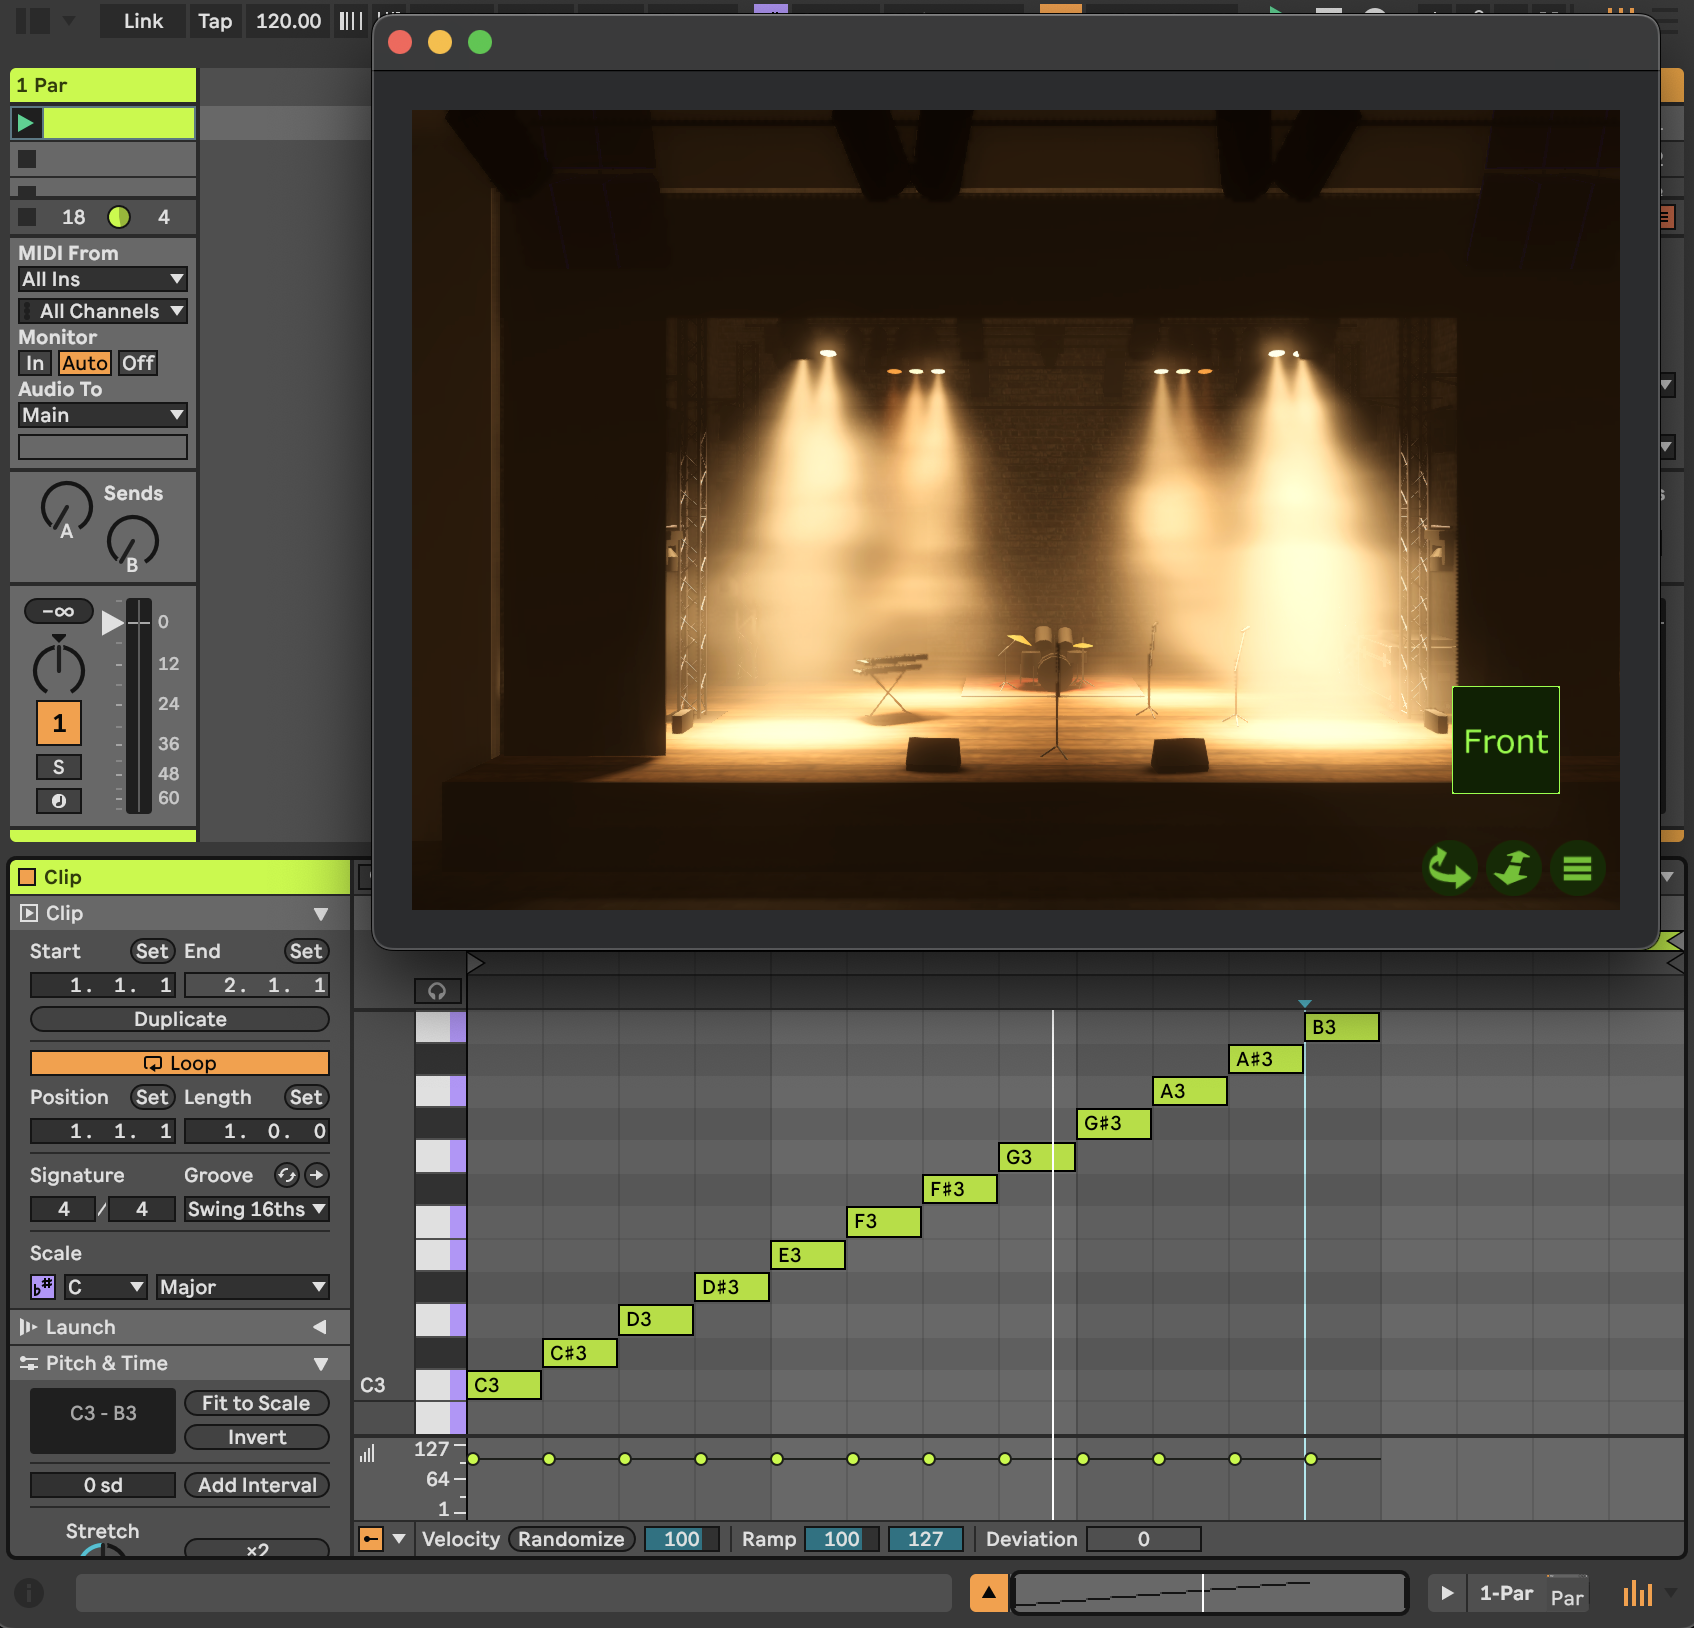
You will notice that the Par plugin has an envelope with an Attack and a Release. It can be used to trigger the intensity of the Pars with MIDI notes.
First make sure the Intensity control in the device interface is down and the lights are all off. Double-click in a clip slot of the MIDI track to create a clip and add a number of C3 notes to it. When you now play the clip you will see the first lights of the Par group light up rhythmically.
More detail on which lights are triggered by which MIDI notes can be found on the Fixture Patch page.
You may have noticed that the Par instrument also has controls for color. These would be applicable if we were working with color LED pars, but with these basic single-channel Pars, the color attributes are ignored. However, we can do even better than color LED pars. Why don't we add some movement too?
Controlling advanced fixtures
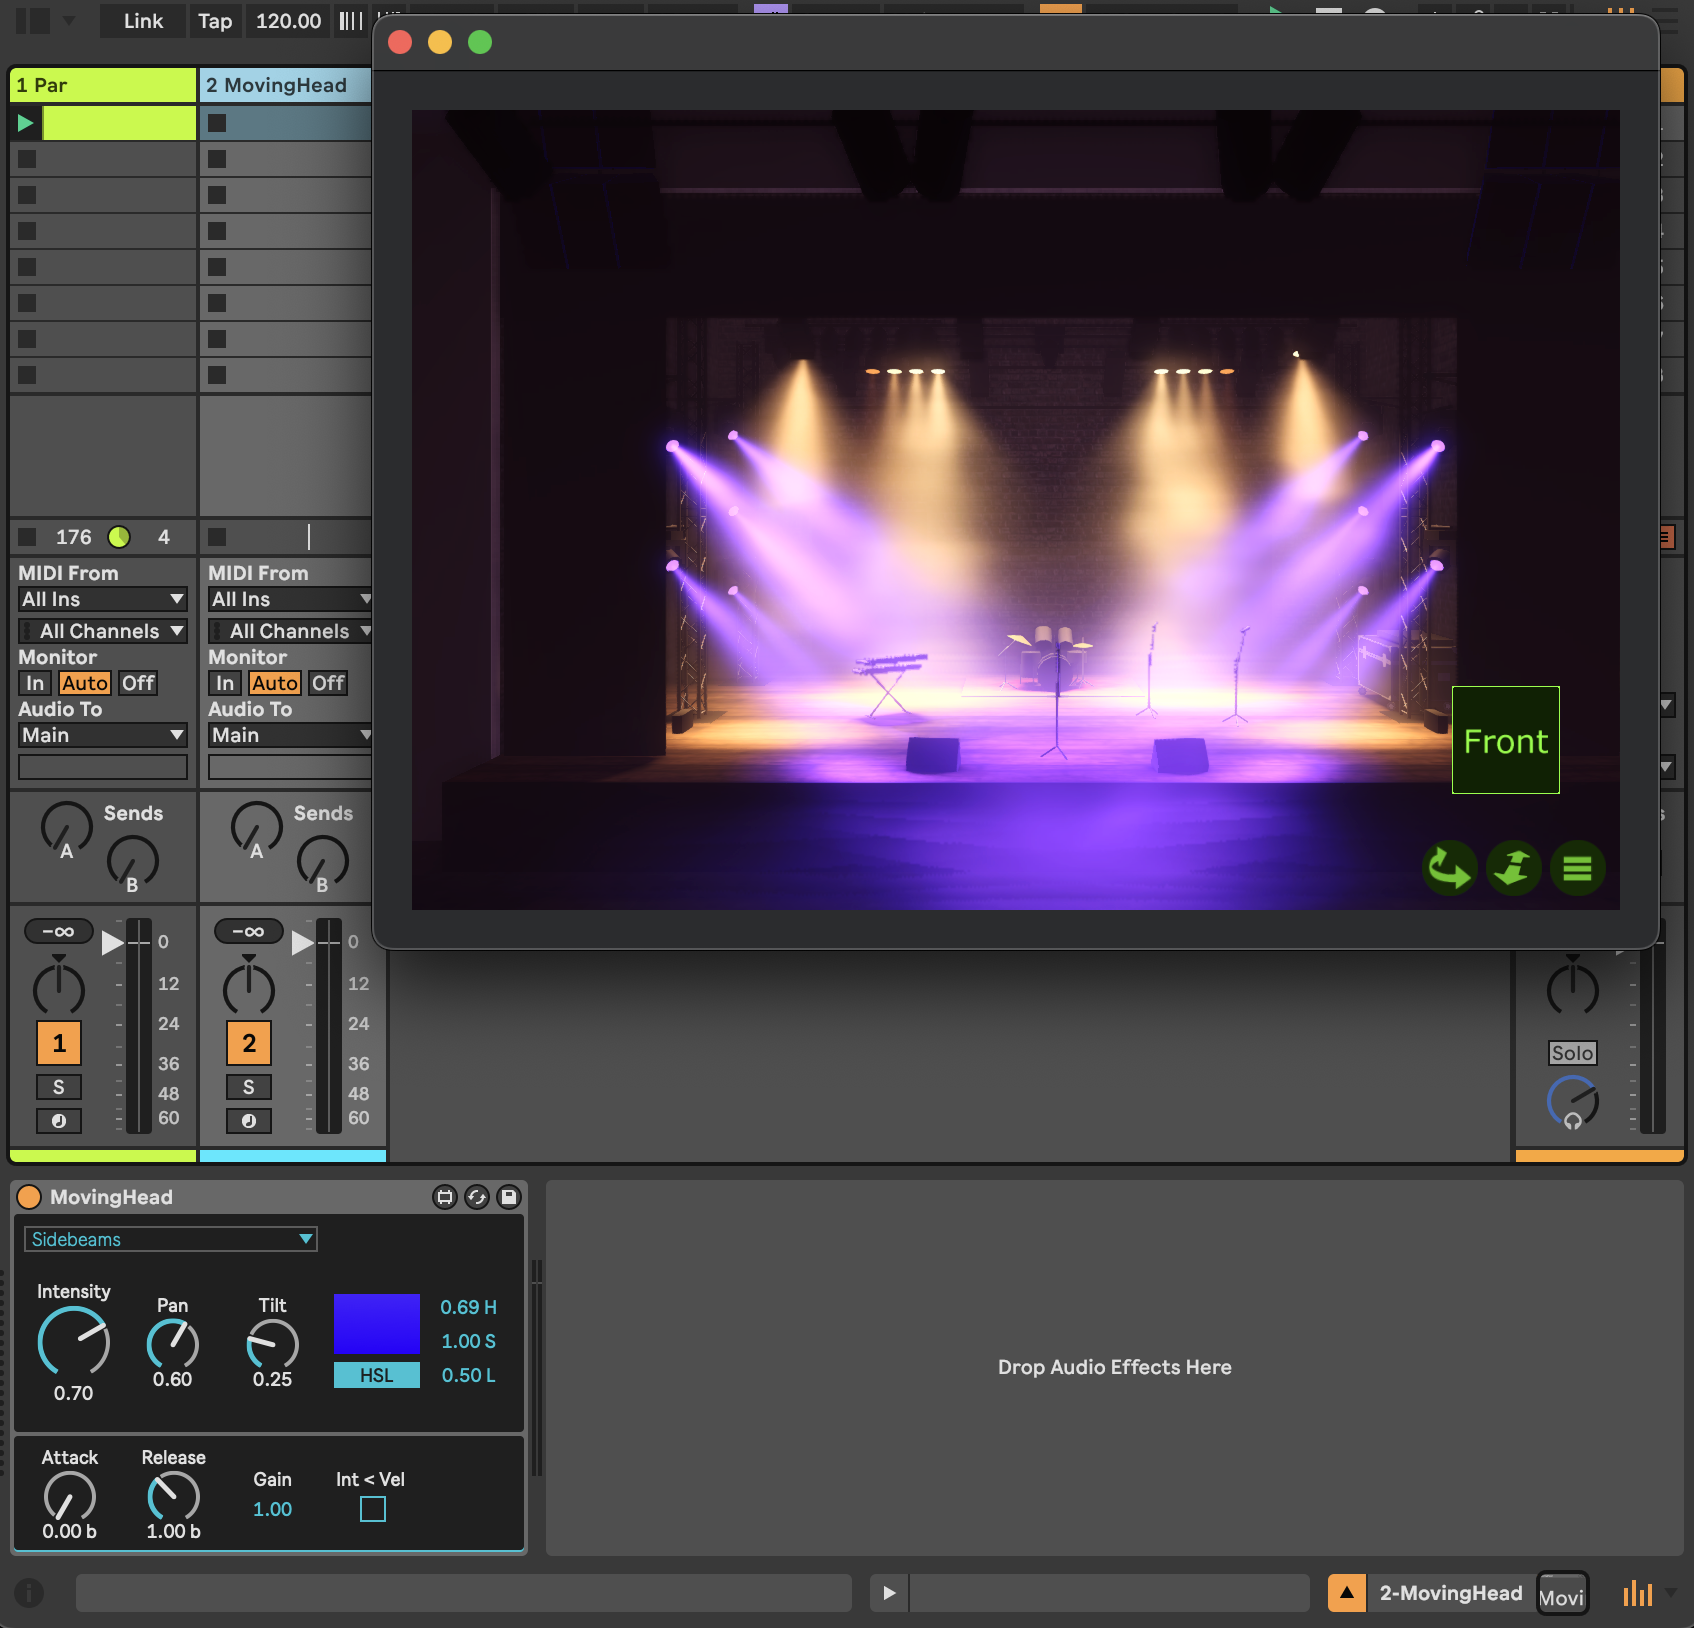
Lets see if we can control those advanced moving head lights in the set.
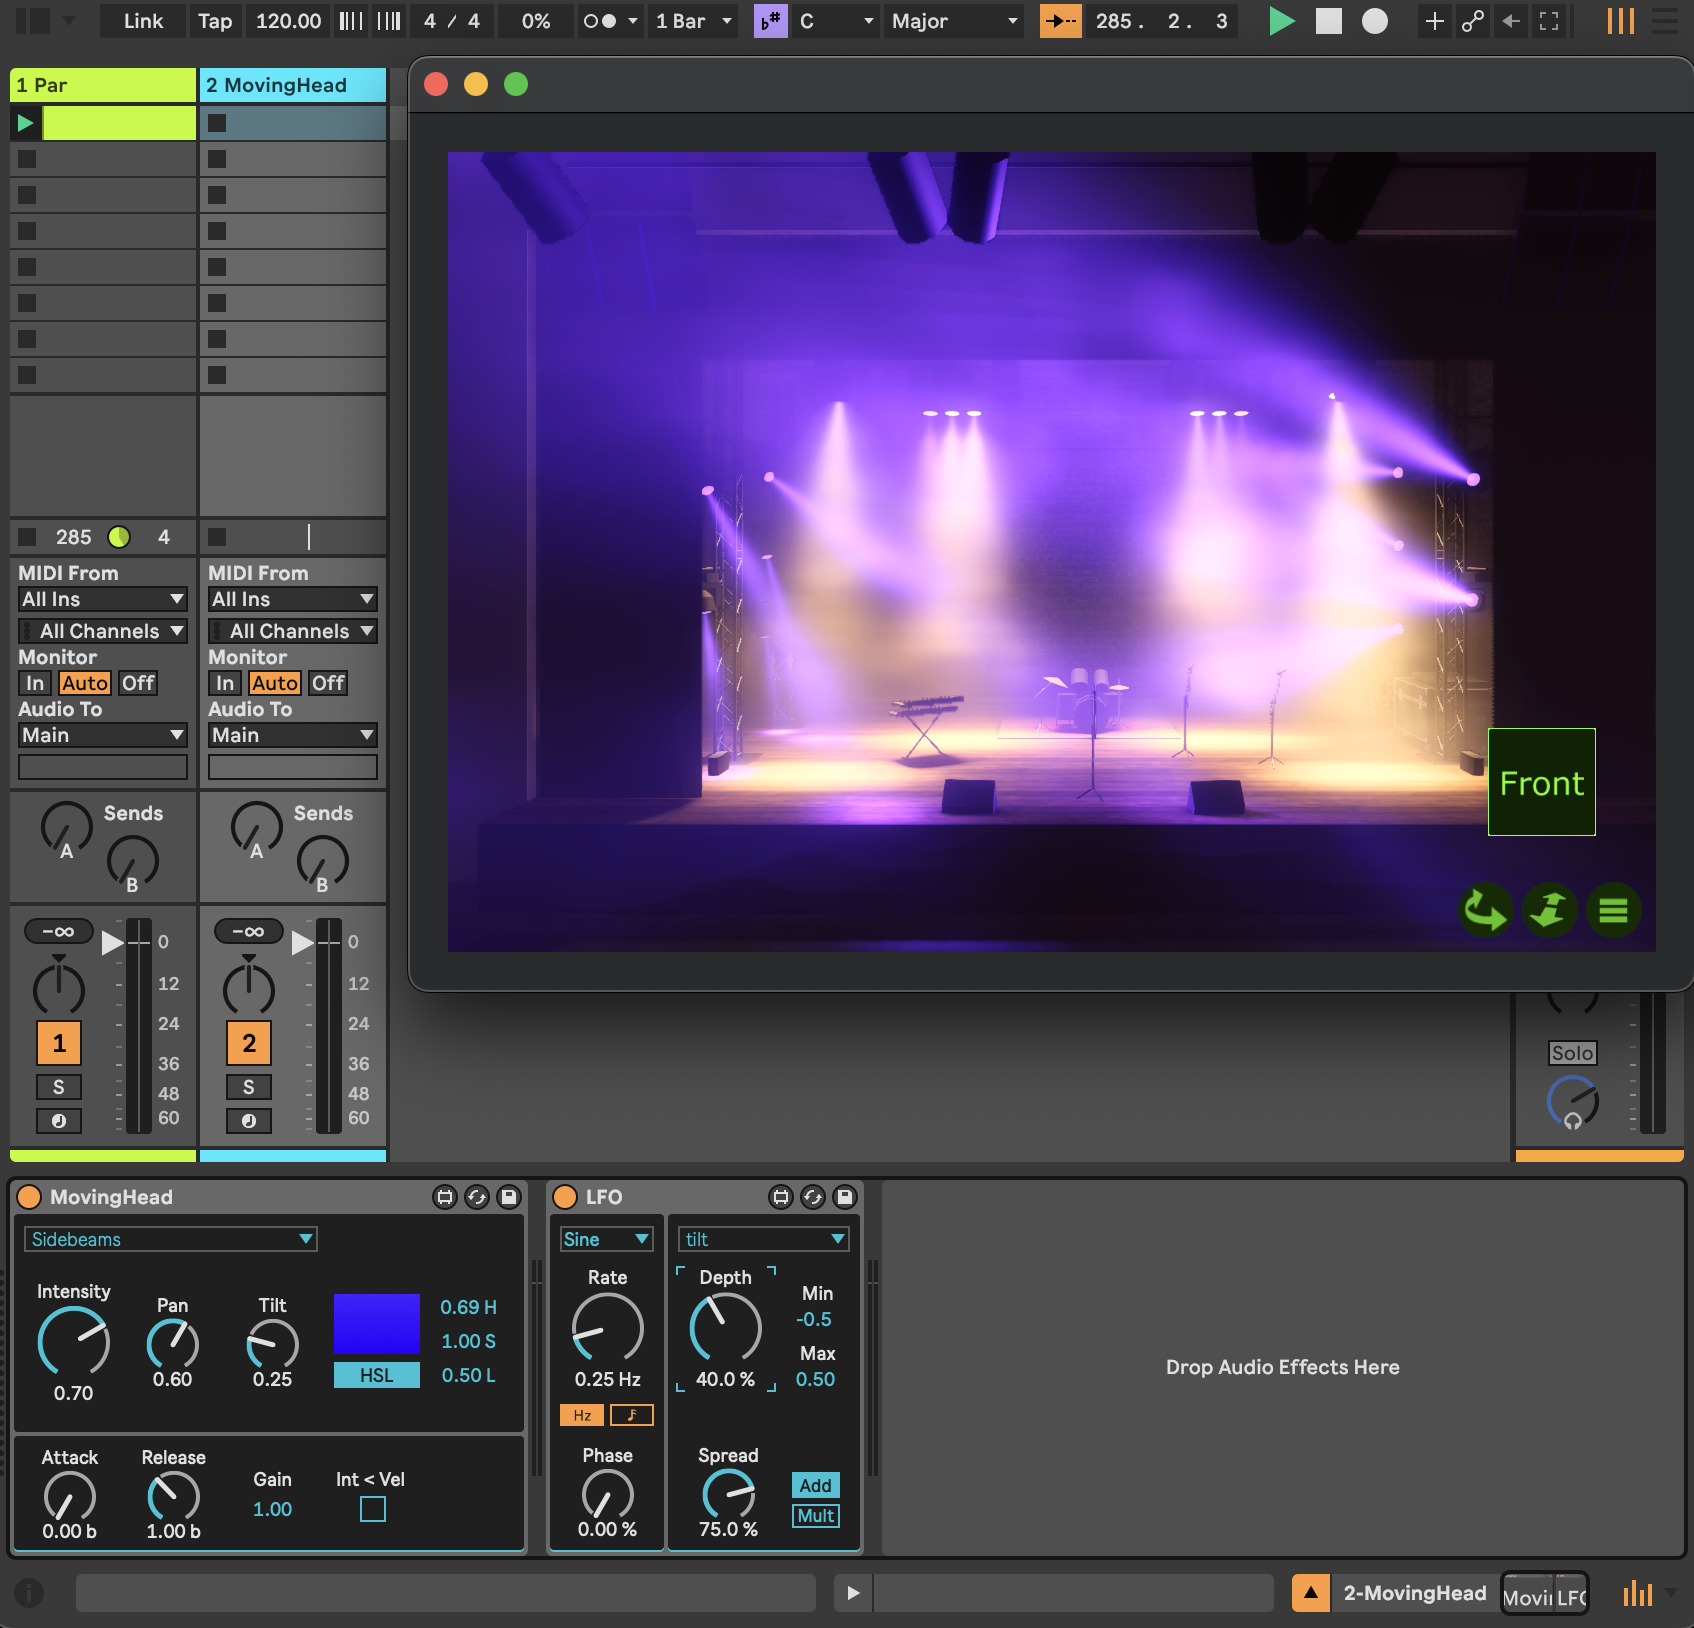
In a new MIDI track, add a MovingHead instrument. Select the Sidebeams tag in from the dropdown and increase the Intensity.
You will see that the wash moving heads at the sides are aimed at the floor. By adjusting the Tilt and then Pan, you can aim them at a suitable angle. Finally, click the color box to open the color chooser and set their color.
Adding an effect
As a final touch, and to hint at how the signal flow works in Beam, we can add some continuous movement to the fixtures. From the Browser, drag an LFO effect behind the MovingHead instrument.
You will notice that Effects don't have a dropdown where you select a Tag group, but rather one where you select a Modulation Parameter. More about how and why this works can be found in the Signal flow article.
For now, let's just select tilt. You will notice that the fixtures will start moving rather quickly. Let's slow them down by setting Rate to 0.25 Hz and Depth to 40.0%. We may also want them to move in a symmetrical range. Therefore we set the Min control to -0.5 and Max to 0.5.
To top this off, we can set the Spread control to 75% for an individual phase offset.
You have now used all the elementary tools needed to control lights in the visualizer from Live with Beam! Feel free play around now that you know the basics of Beam!
Next steps
When you feel ready, you can expand on the features you have used so far by learning more about Beam's Application interface. Or level up your understanding of Beam's under-the-hood flexibility and its advanced usage scenarios by continuing to the Signal Flow section.
There is just one more thing left to do in this guide: playing your composition on real lights.