Playground
If the Beam Demo's visualizer is still running, quit it before proceeding. We will use another virtual lighting rig in this article.
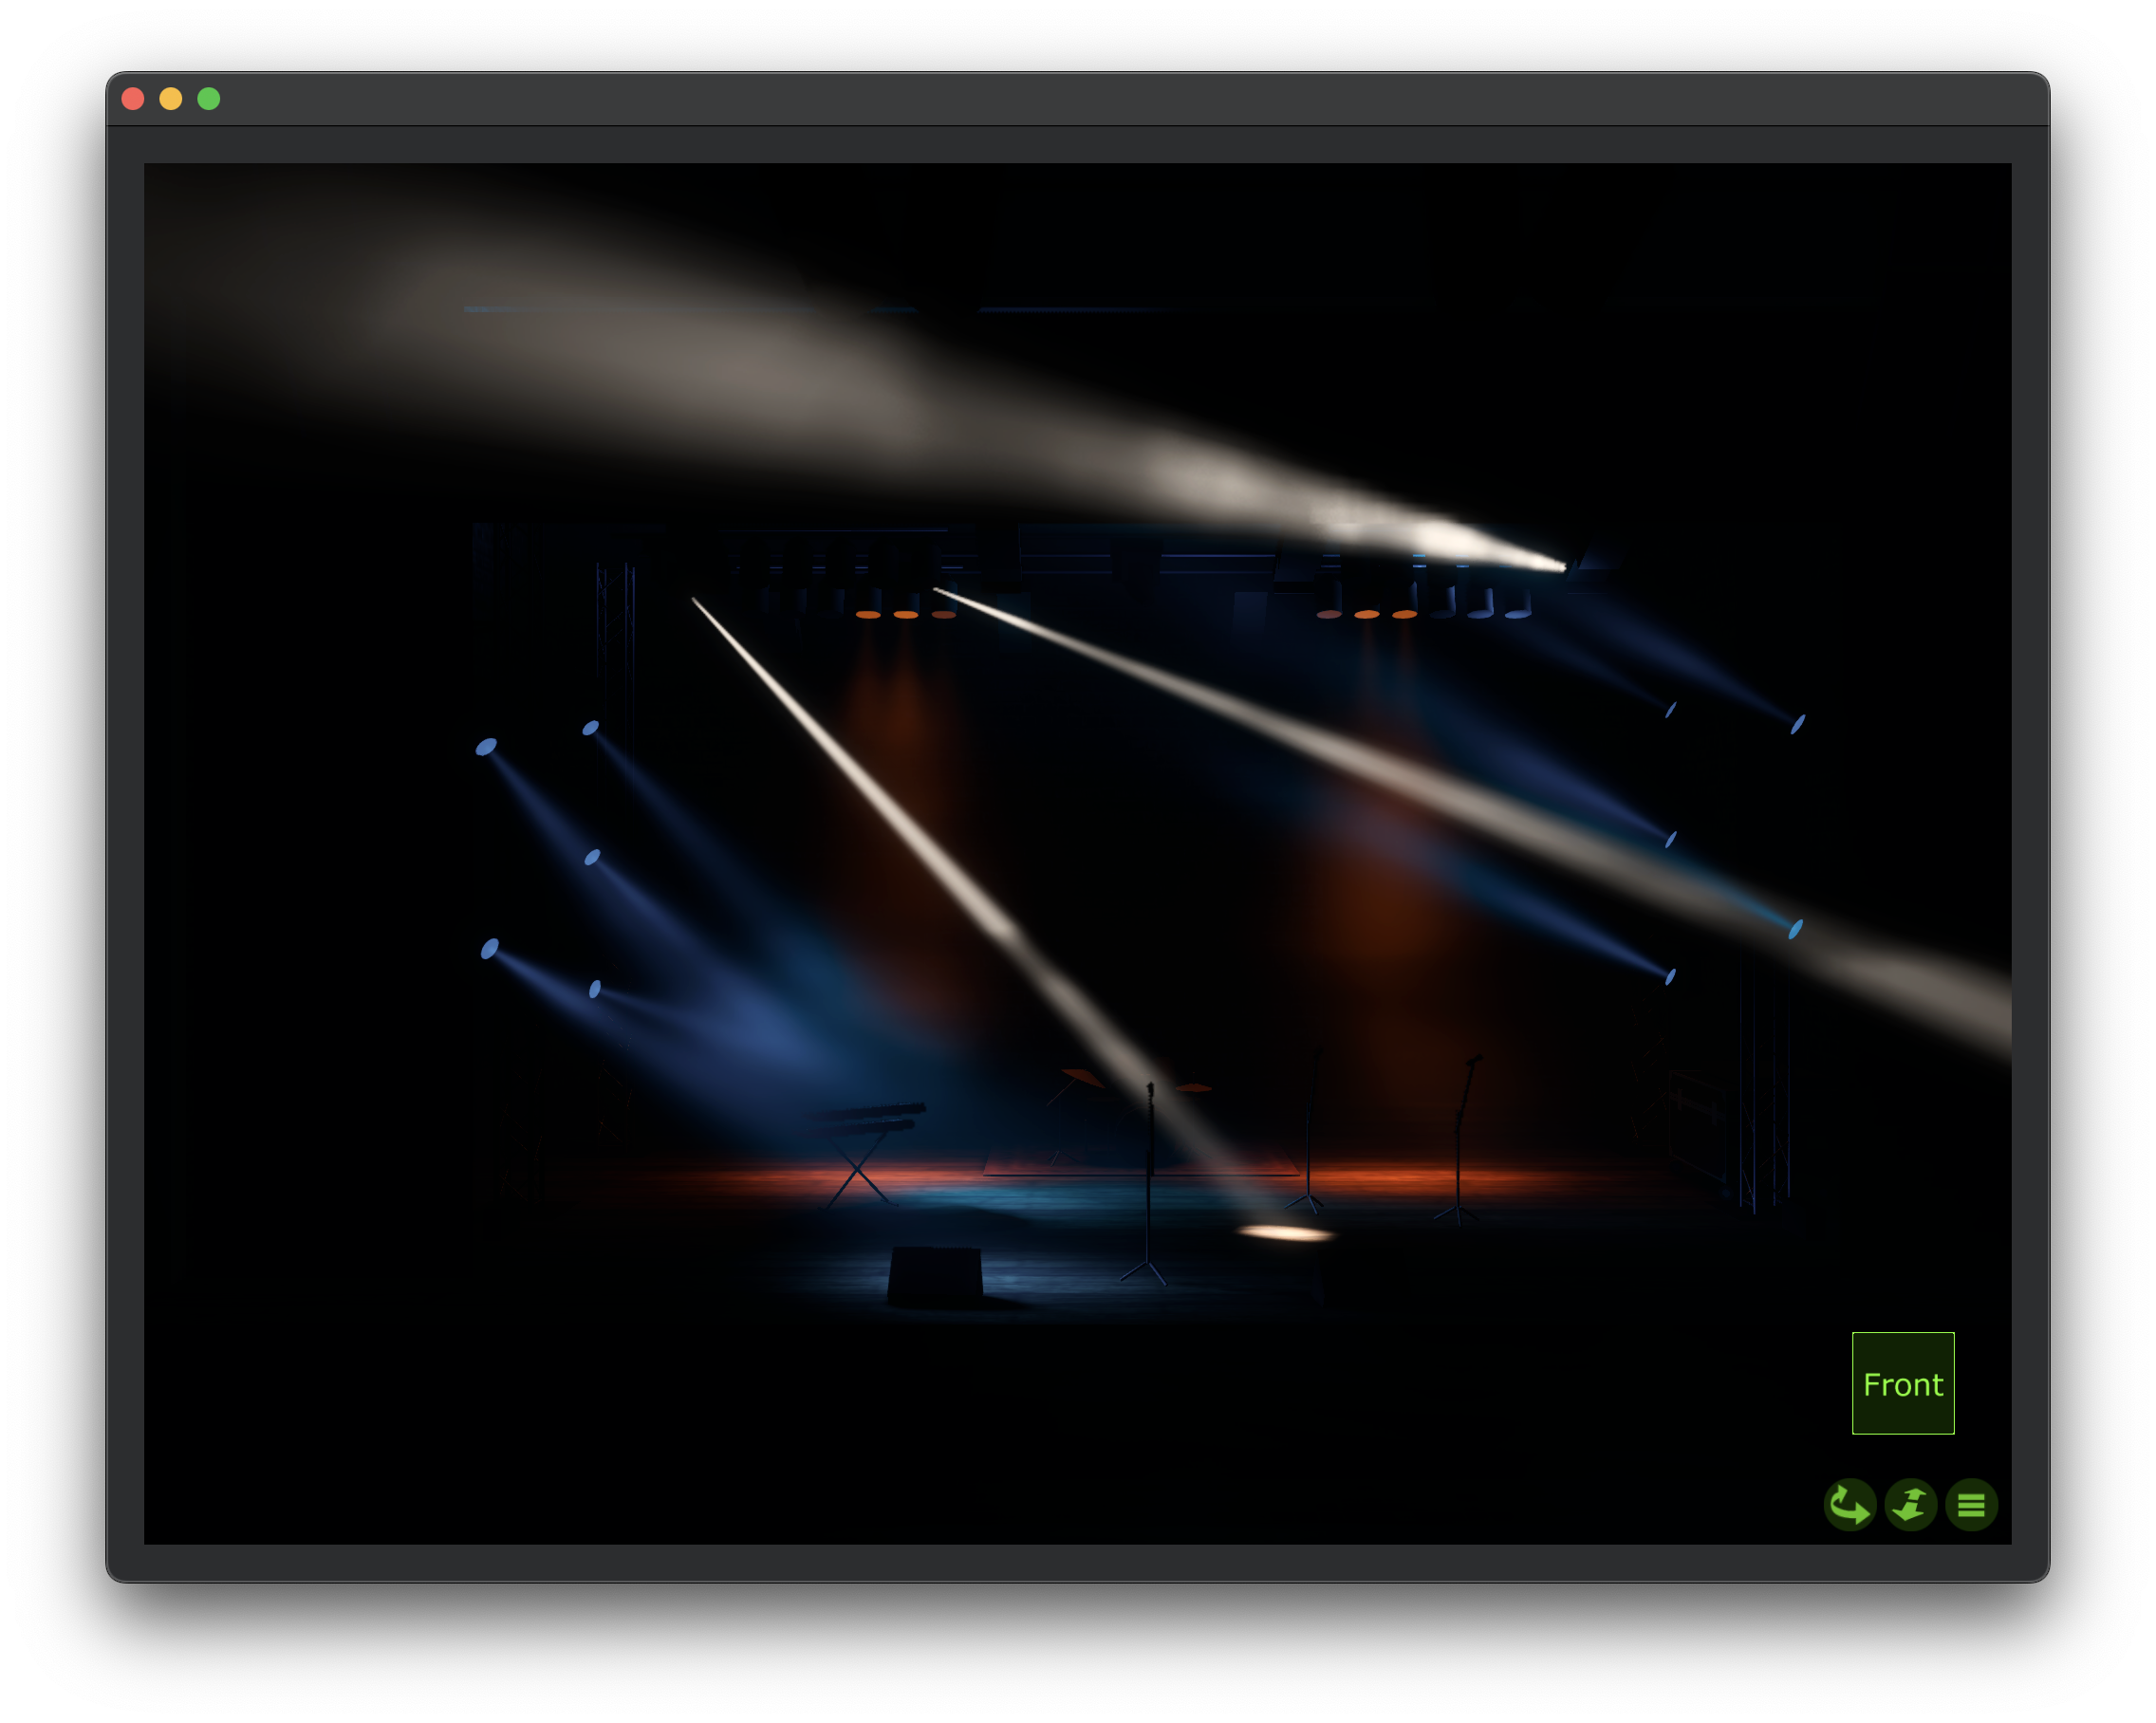
In this article we will introduce you to the Playground, yet another virtual lighting rig bundled with Beam, containing some commonly used fixtures. This is a great way to get started with Beam, especially if you don't have any physical fixtures at hand.
Open the Playground Project by navigating to Beam > Playground Project... (macOS) or Options > Open Playground Project (Windows) in the menu bar.
Similarly as when opening the Demo Set, this will:
- Load the Fixture Patch
Beam - Playground - Start the
Beam - Playgroundvisualizer - Open
Beam - PlaygroundLive Set in Live - Load an Inputs/Outputs configuration to connect to the visualizer application
Connecting Beam to visualizer
The virtual lights are controlled just like Beam would control real lights, by sending them DMX data via the CITP protocol.
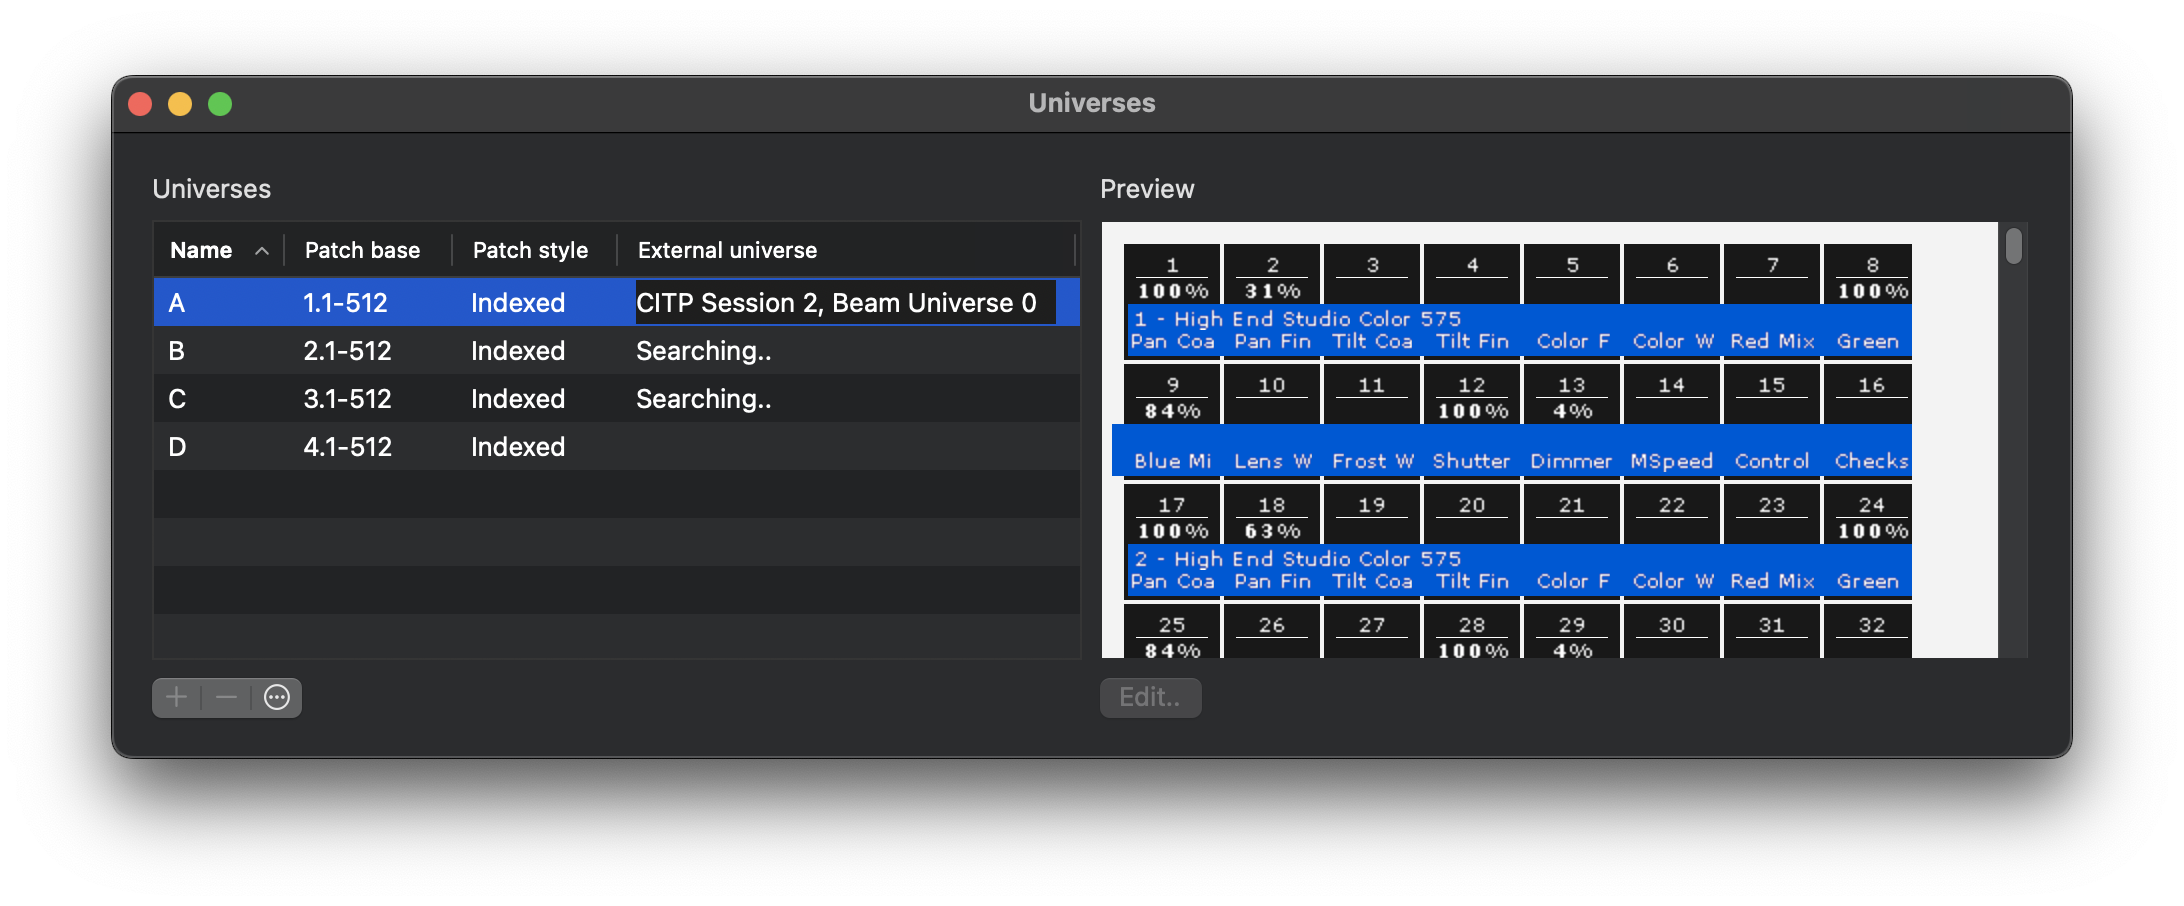
With a visualizer application running on the same machine as Beam, you can see the CITP Universes sent out by Beam to the universes in the visualizer in its Universes window: Window > Universes.
The visualizer should already automatically use the incoming universe from Beam. If not, select the Universe A, double-click on the field under External Universe, and select CITP Session N, Beam Universe 0 from the dropdown (you may need to make this window bigger for better visibility).
Select the second of the Europe DW fixtures in Beam's Fixture Patch interface, and toggle Test (lightbulb button in the left sidebar) to On.
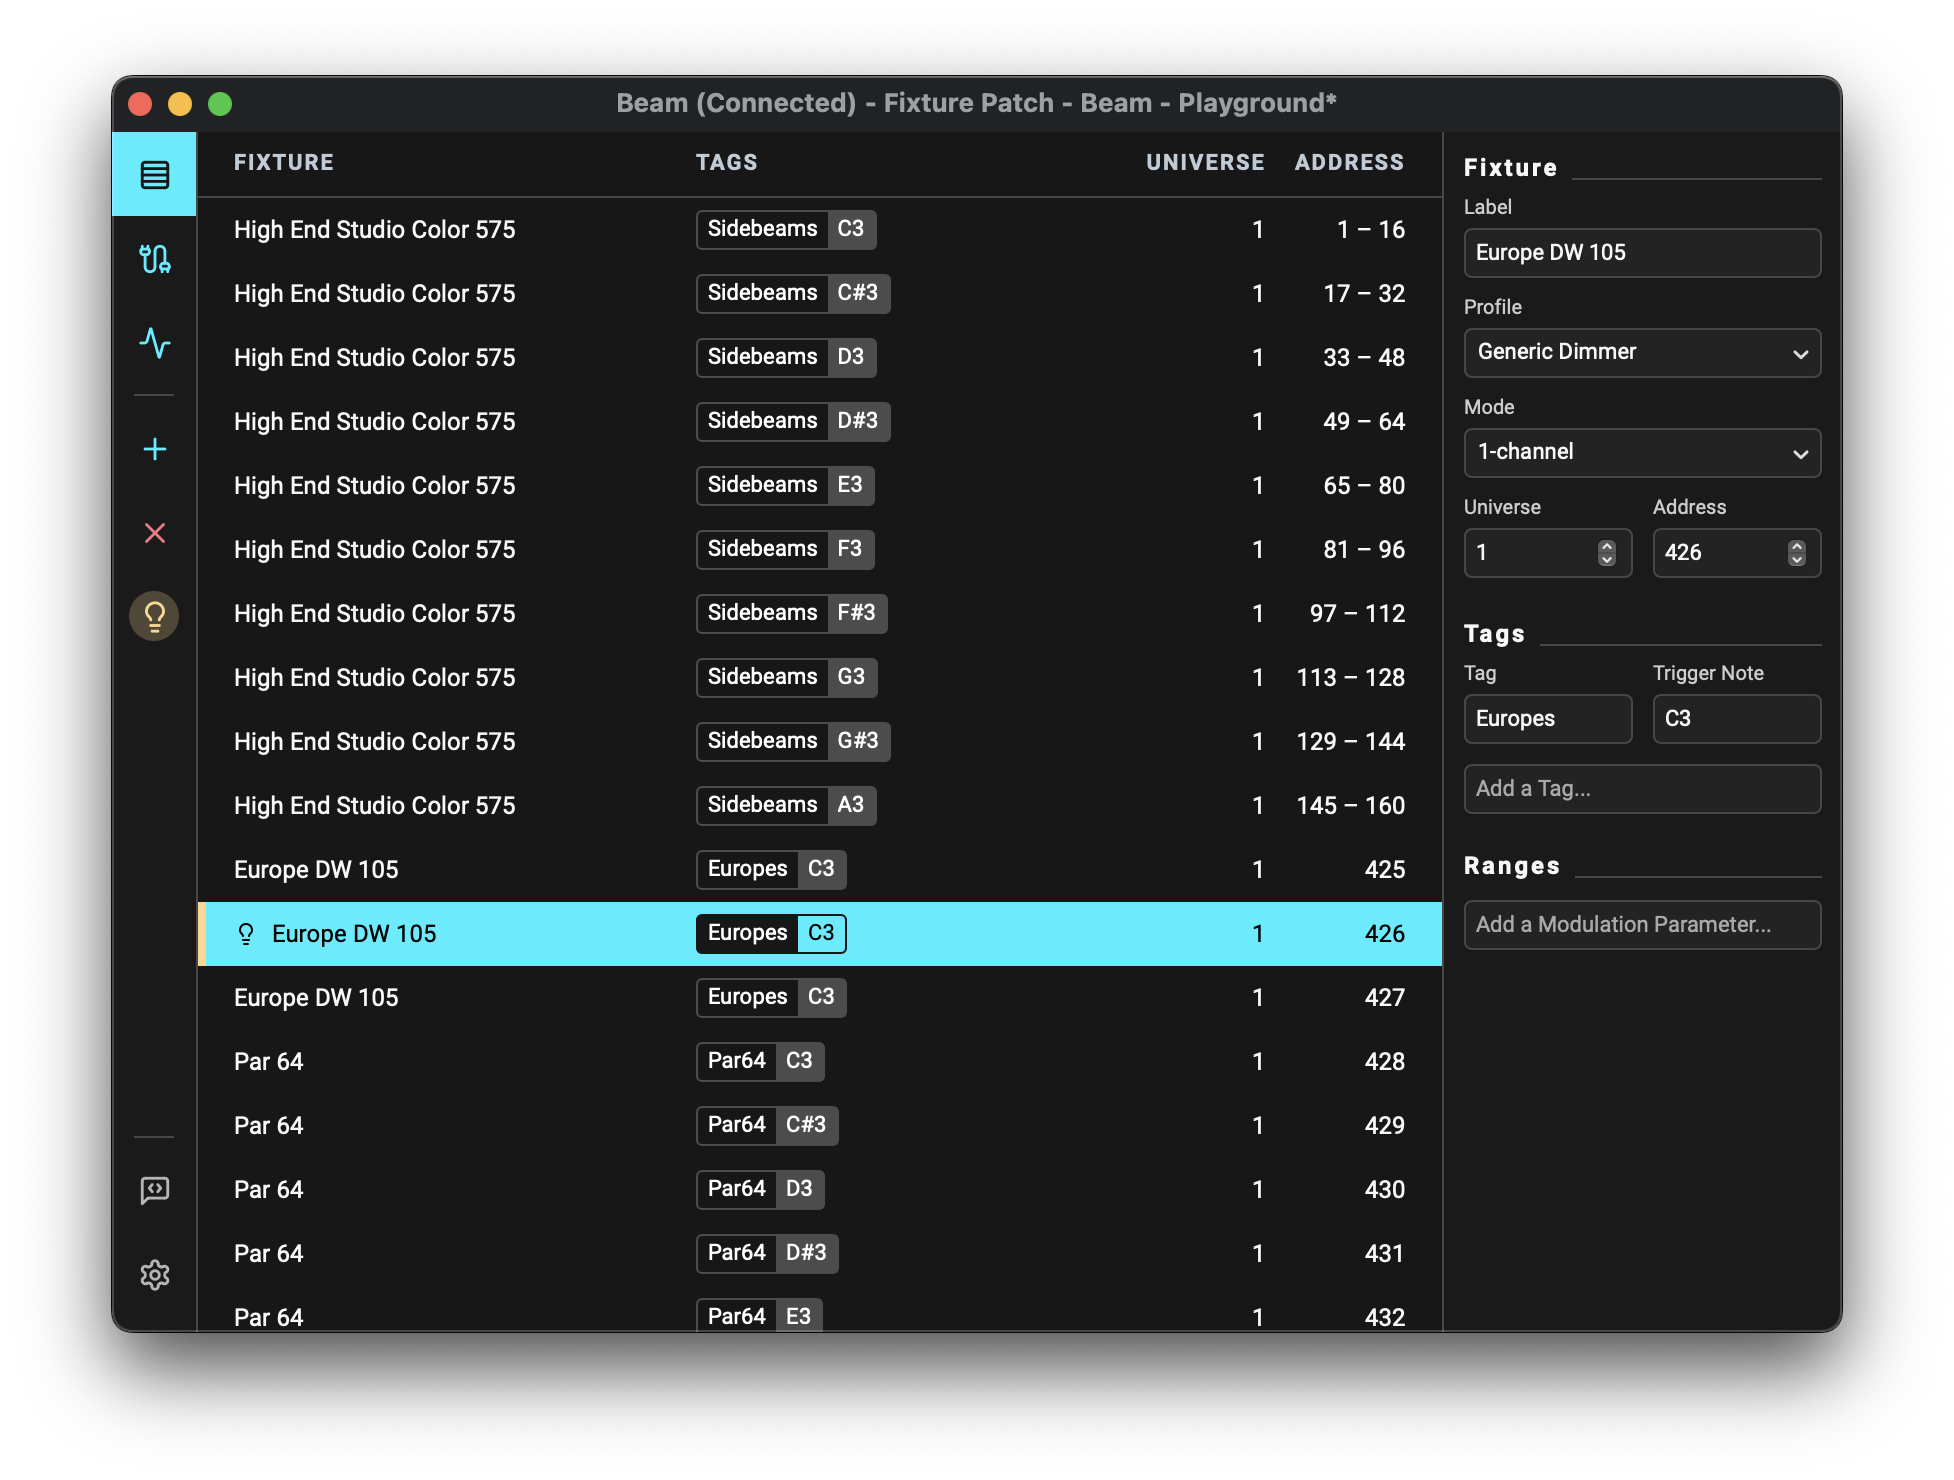
The intensity of these fixtures will now be set to maximum, meaning you should now see them light up in the visualizer.
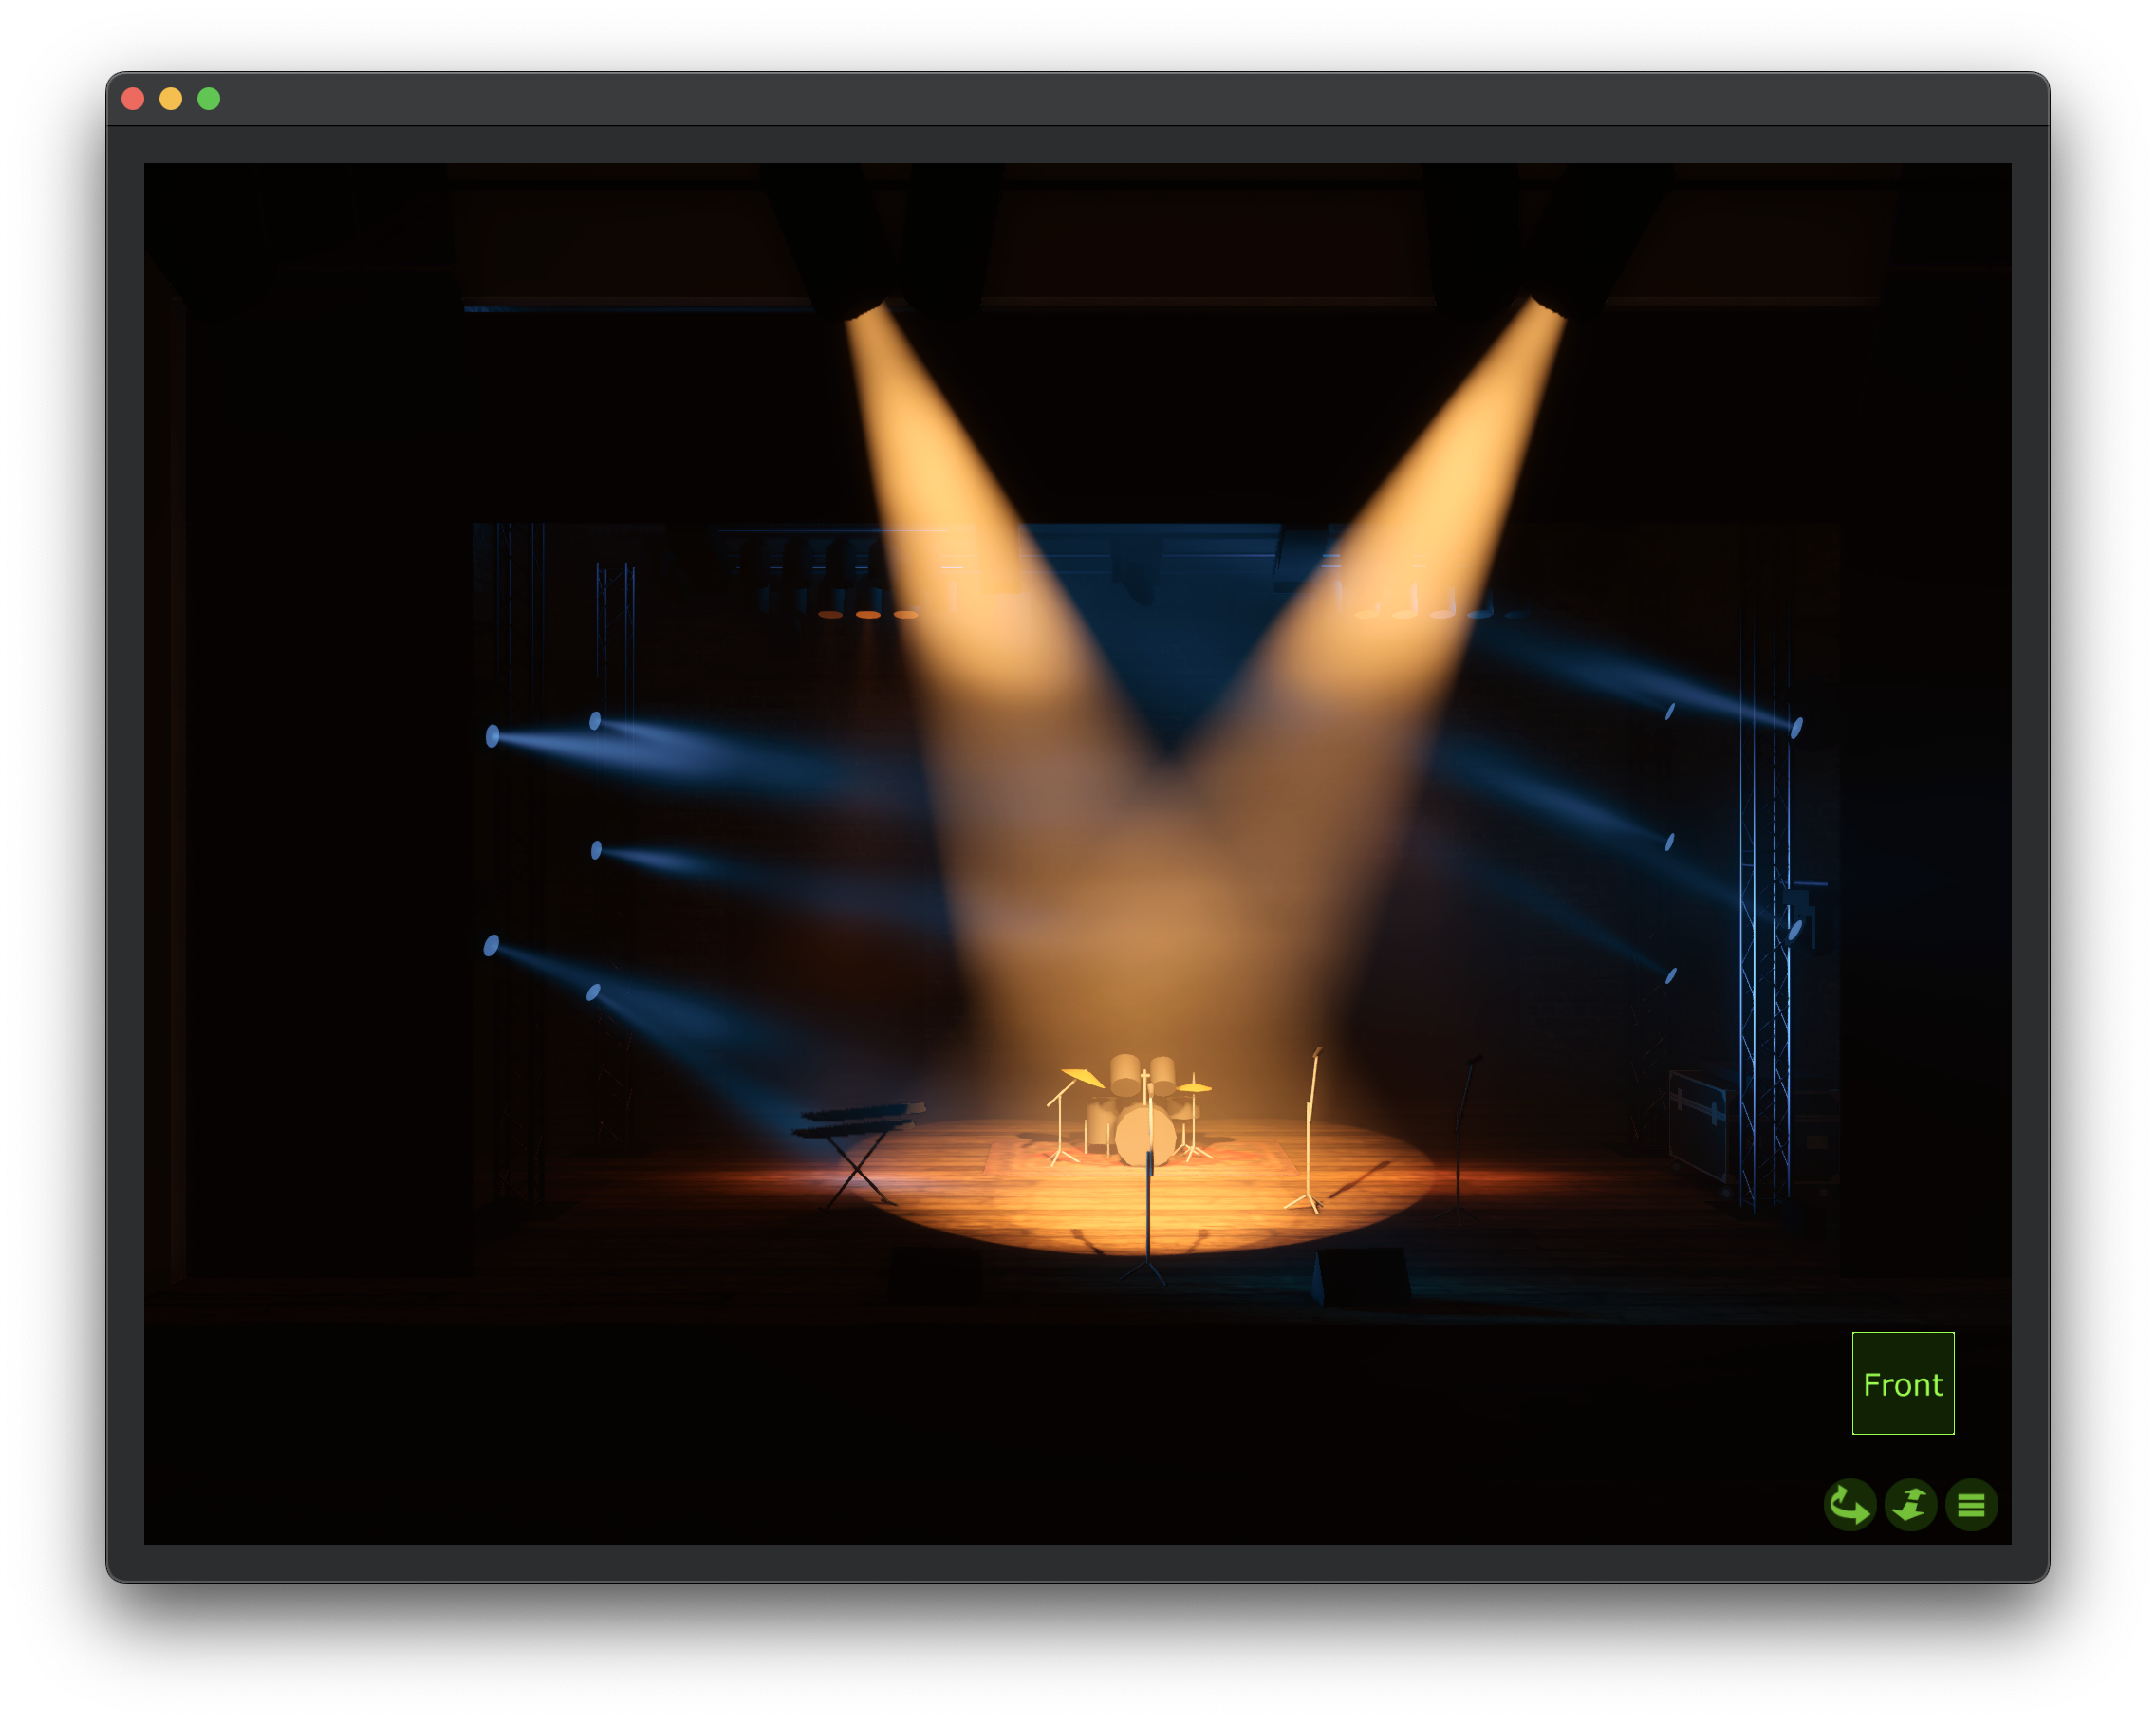
You will notice that one entry in Beam controls two fixtures in the visualizer. If you look at the Universes window in the visualizer, you will understand why. These two fixtures have been patched to listen to the same address, so they will always be controlled as one.
Don't forget to turn Test back Off for the fixtures you had turned on.
Switch to Live - you will notice that the Playground Live Set contains a number of MIDI tracks, each with a Beam device on it. Each of these devices is set to control a different fixture group in the visualizer. Trigger some of the test clips on the MIDI tracks to see the fixtures in the visualizer respond to the MIDI notes.
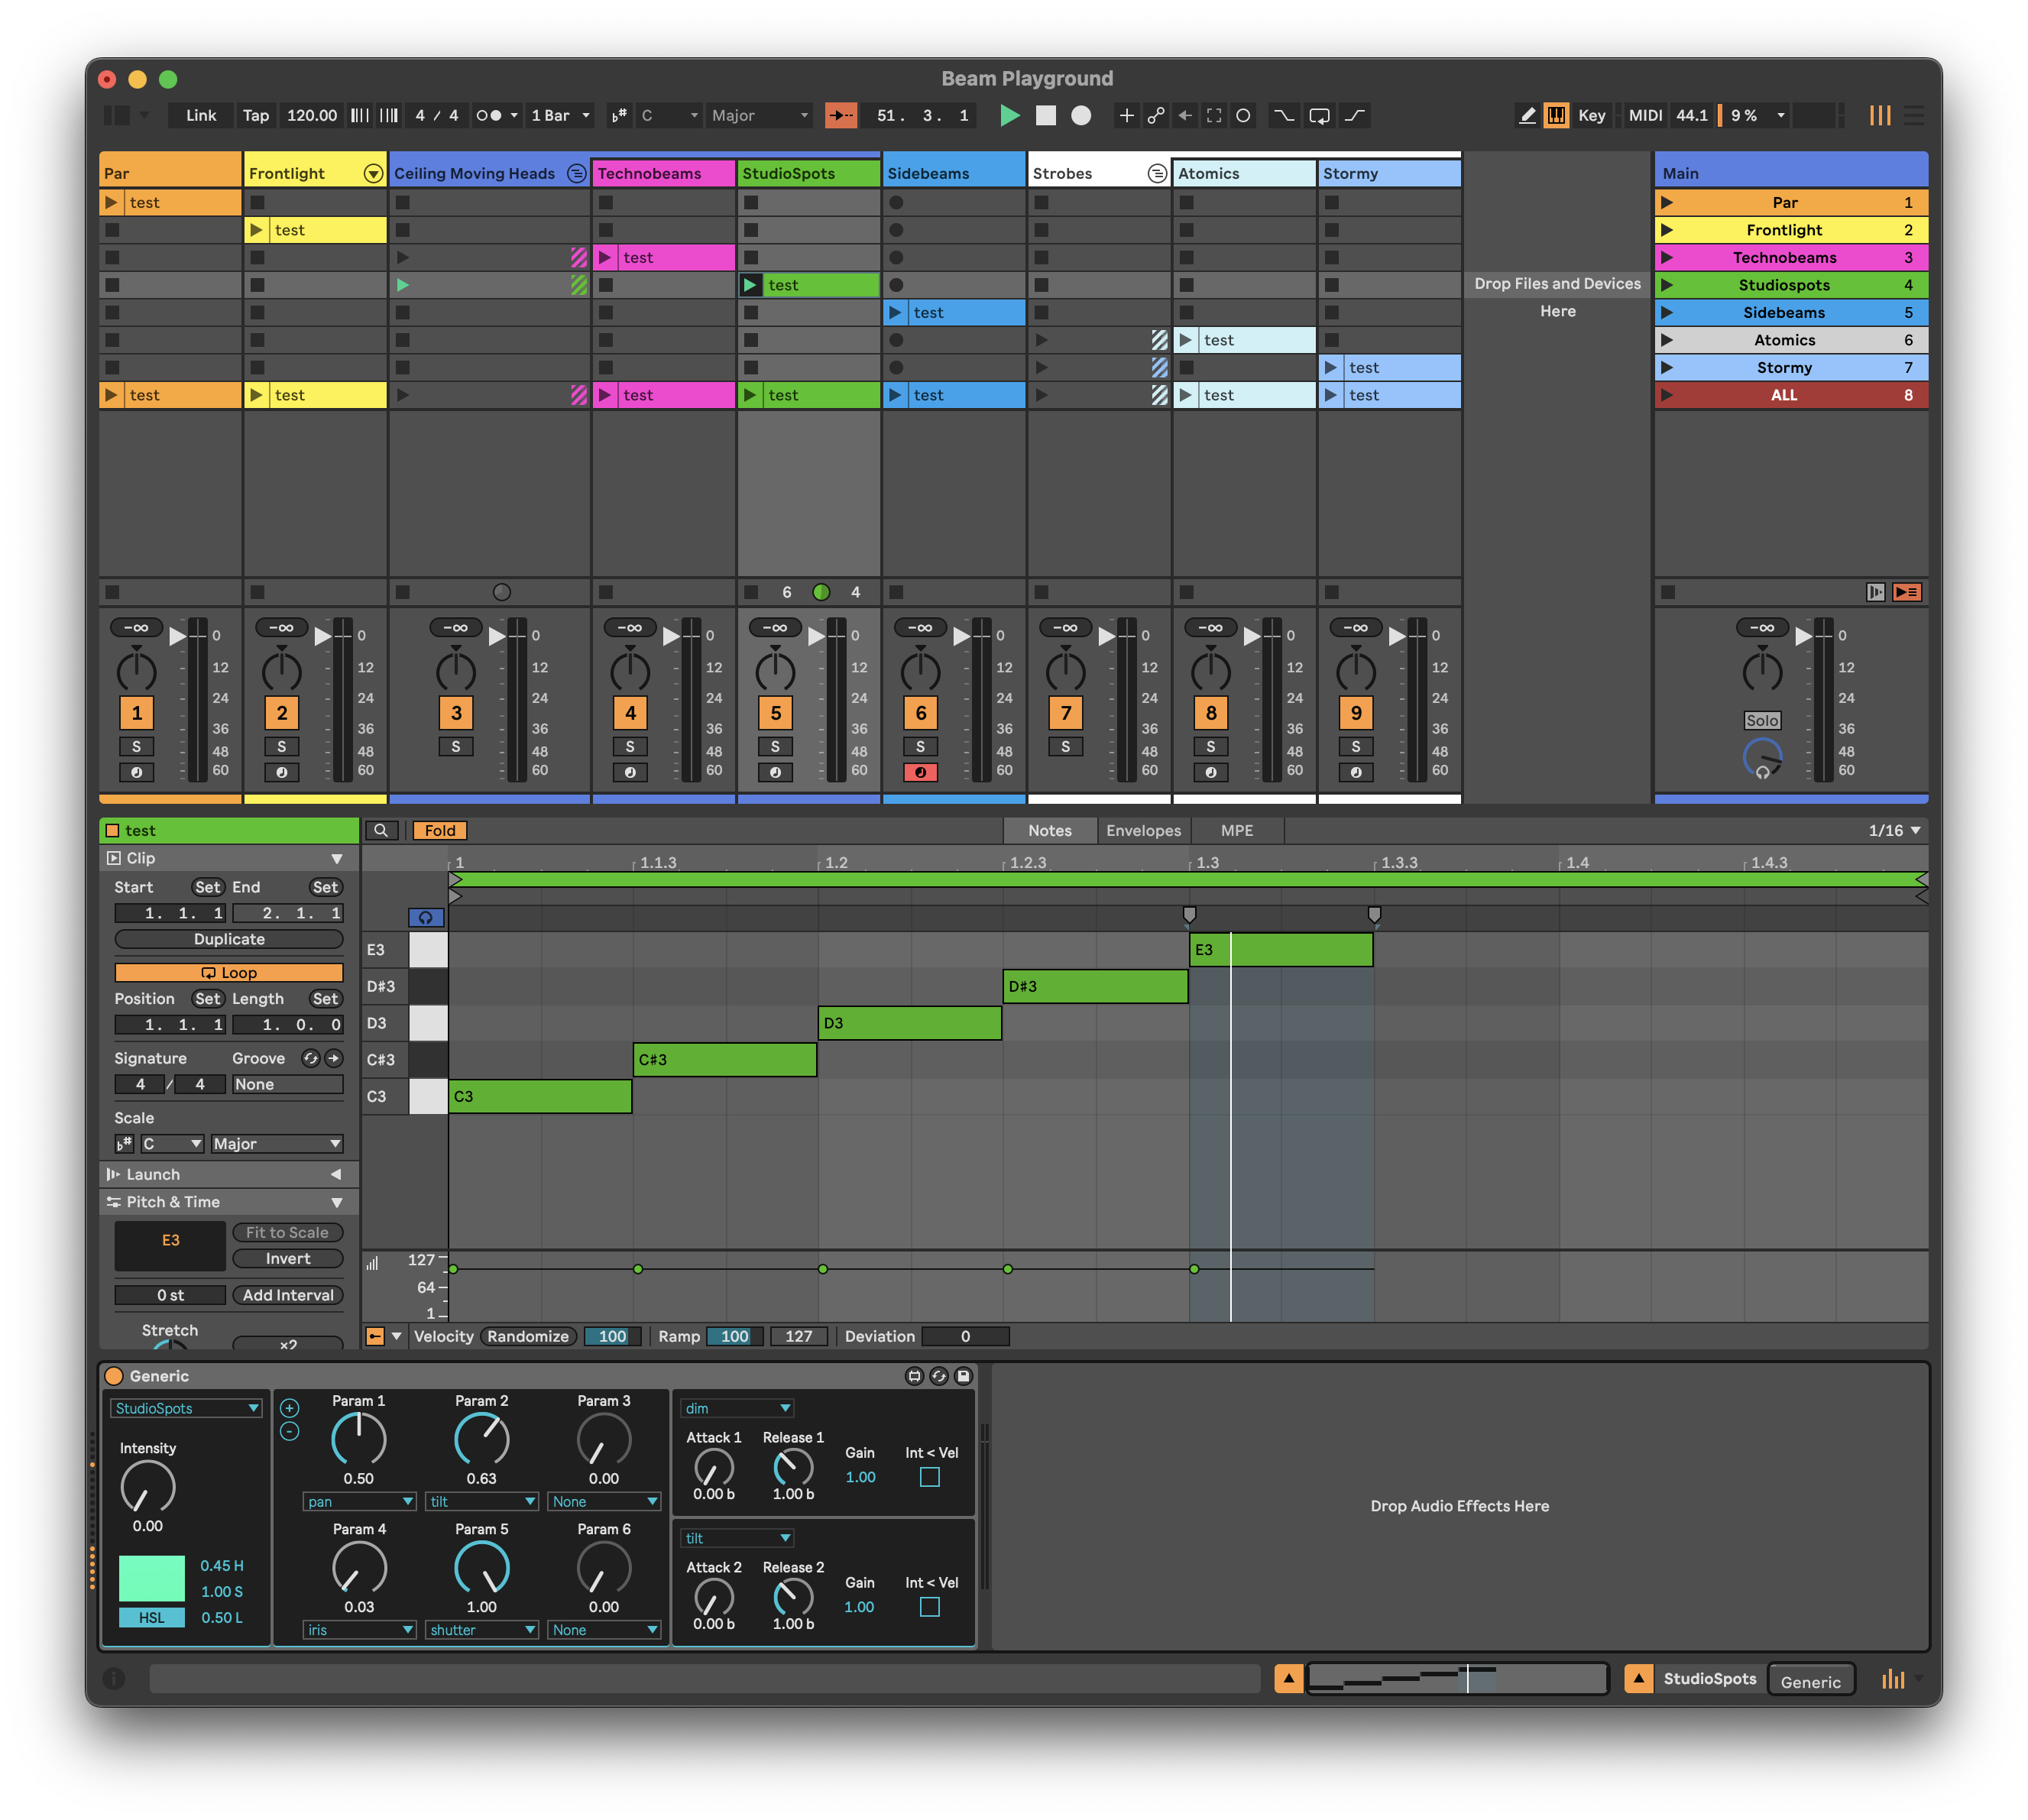
You can use the Playground Set as a starting ground for your first lighting sketches. And now, let's get to know Beam's Devices by creating our first lighting composition in Ableton Live!