Connecting the visualizer
Before continuing with the rest of the tutorial, quit Beam and Capture, then start Capture, then Beam.
In order for Capture to be able to receive lighting data from Beam via the Art-Net protocol on the same computer, Capture needs to be started before Beam.
With Capture and Beam running, Capture now only needs to know where to listen for the lighting data coming from Beam.
Connecting Capture to Beam
The virtual lights are controlled just like Beam would control real lights, by sending them channel information via the Art-Net protocol.
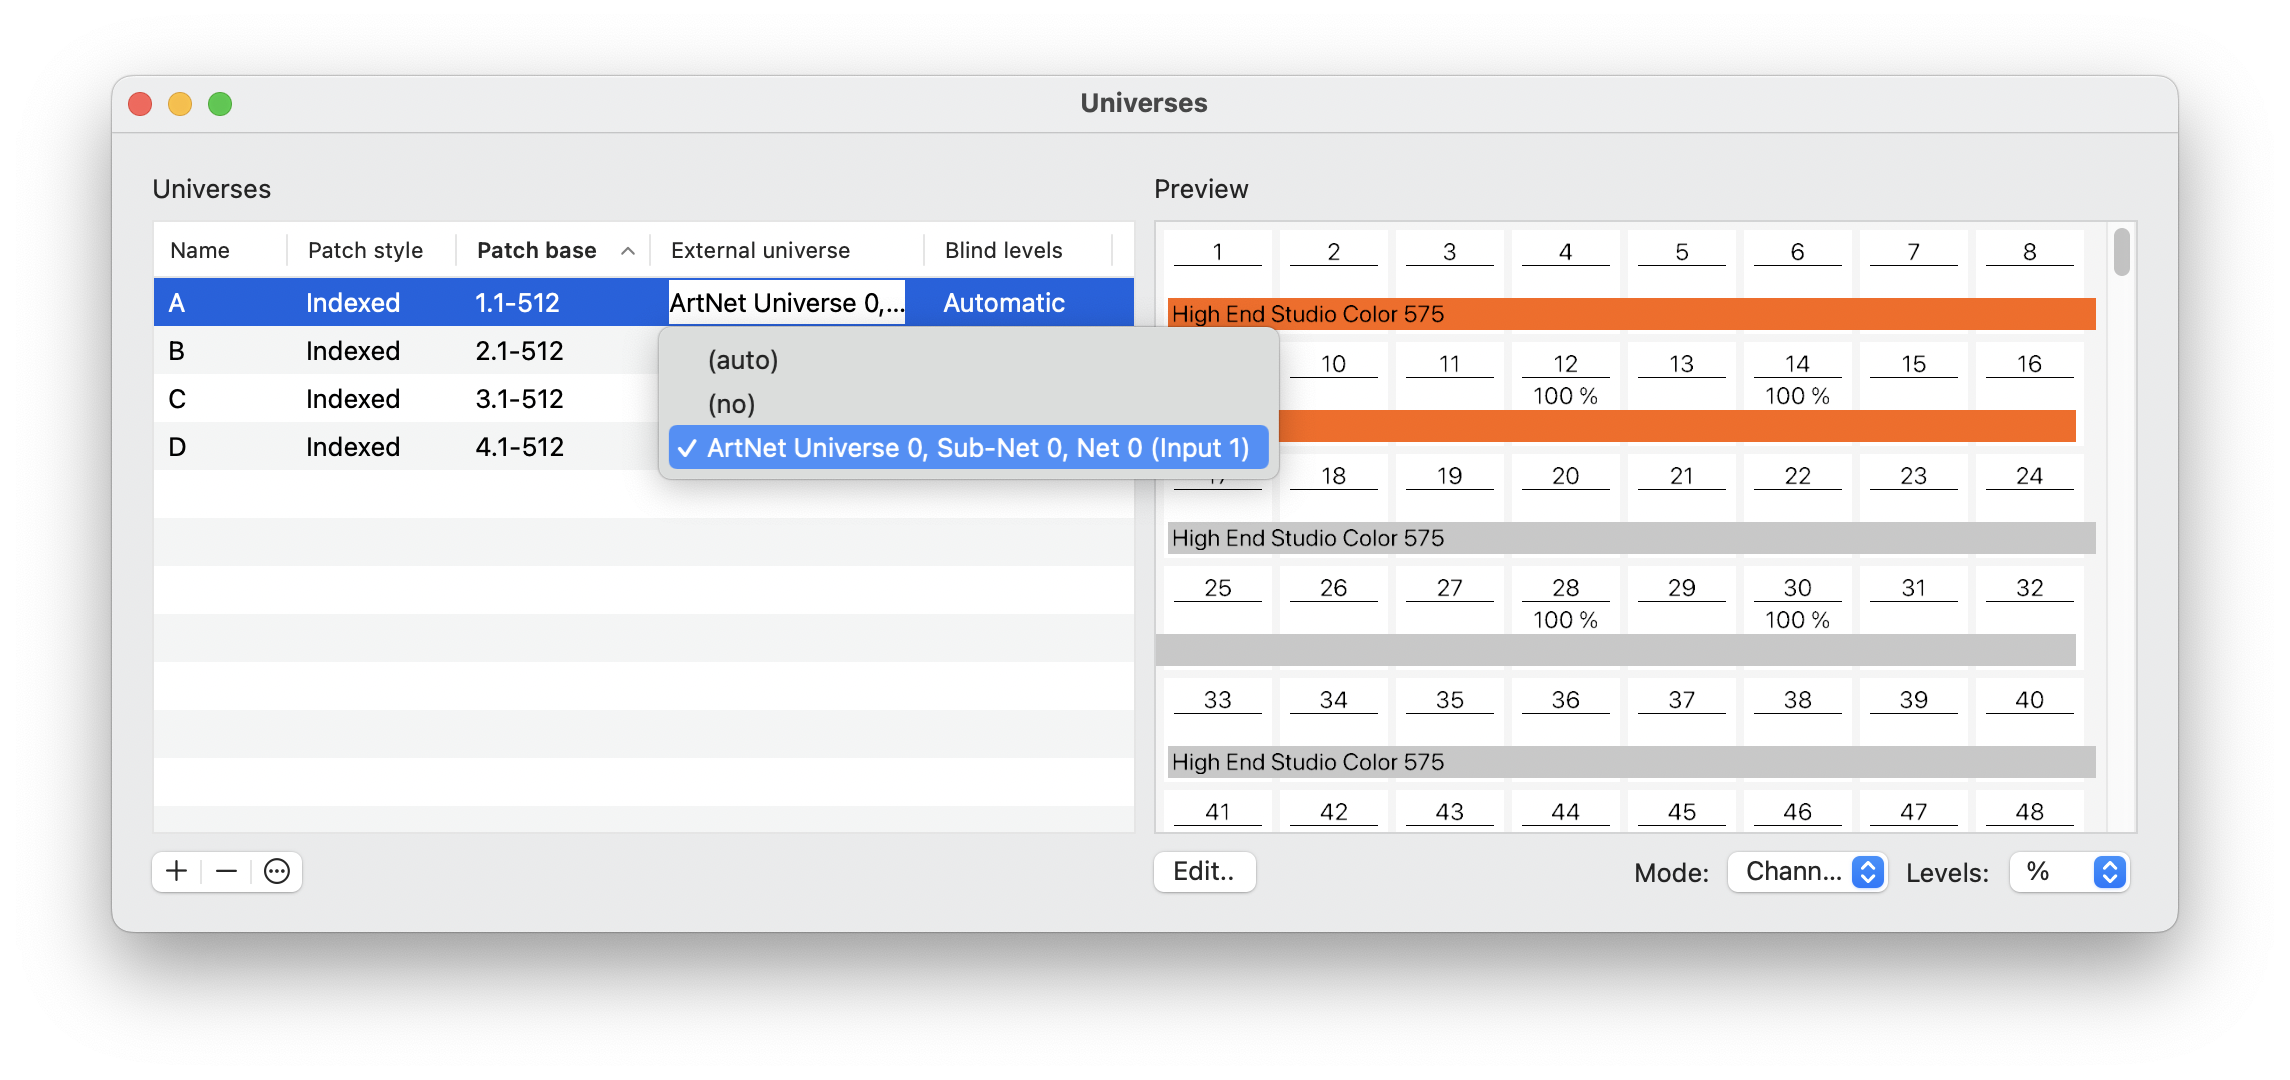
With Capture running on the same machine as Beam, you can link the Art-Net universes sent out by Beam to the universes in Capture in its Universes window: Window > Universes.
For universe A, under External Universe, double-click and select the Art-Net Universe from the dropdown (you may need to make this window bigger for better visibility).
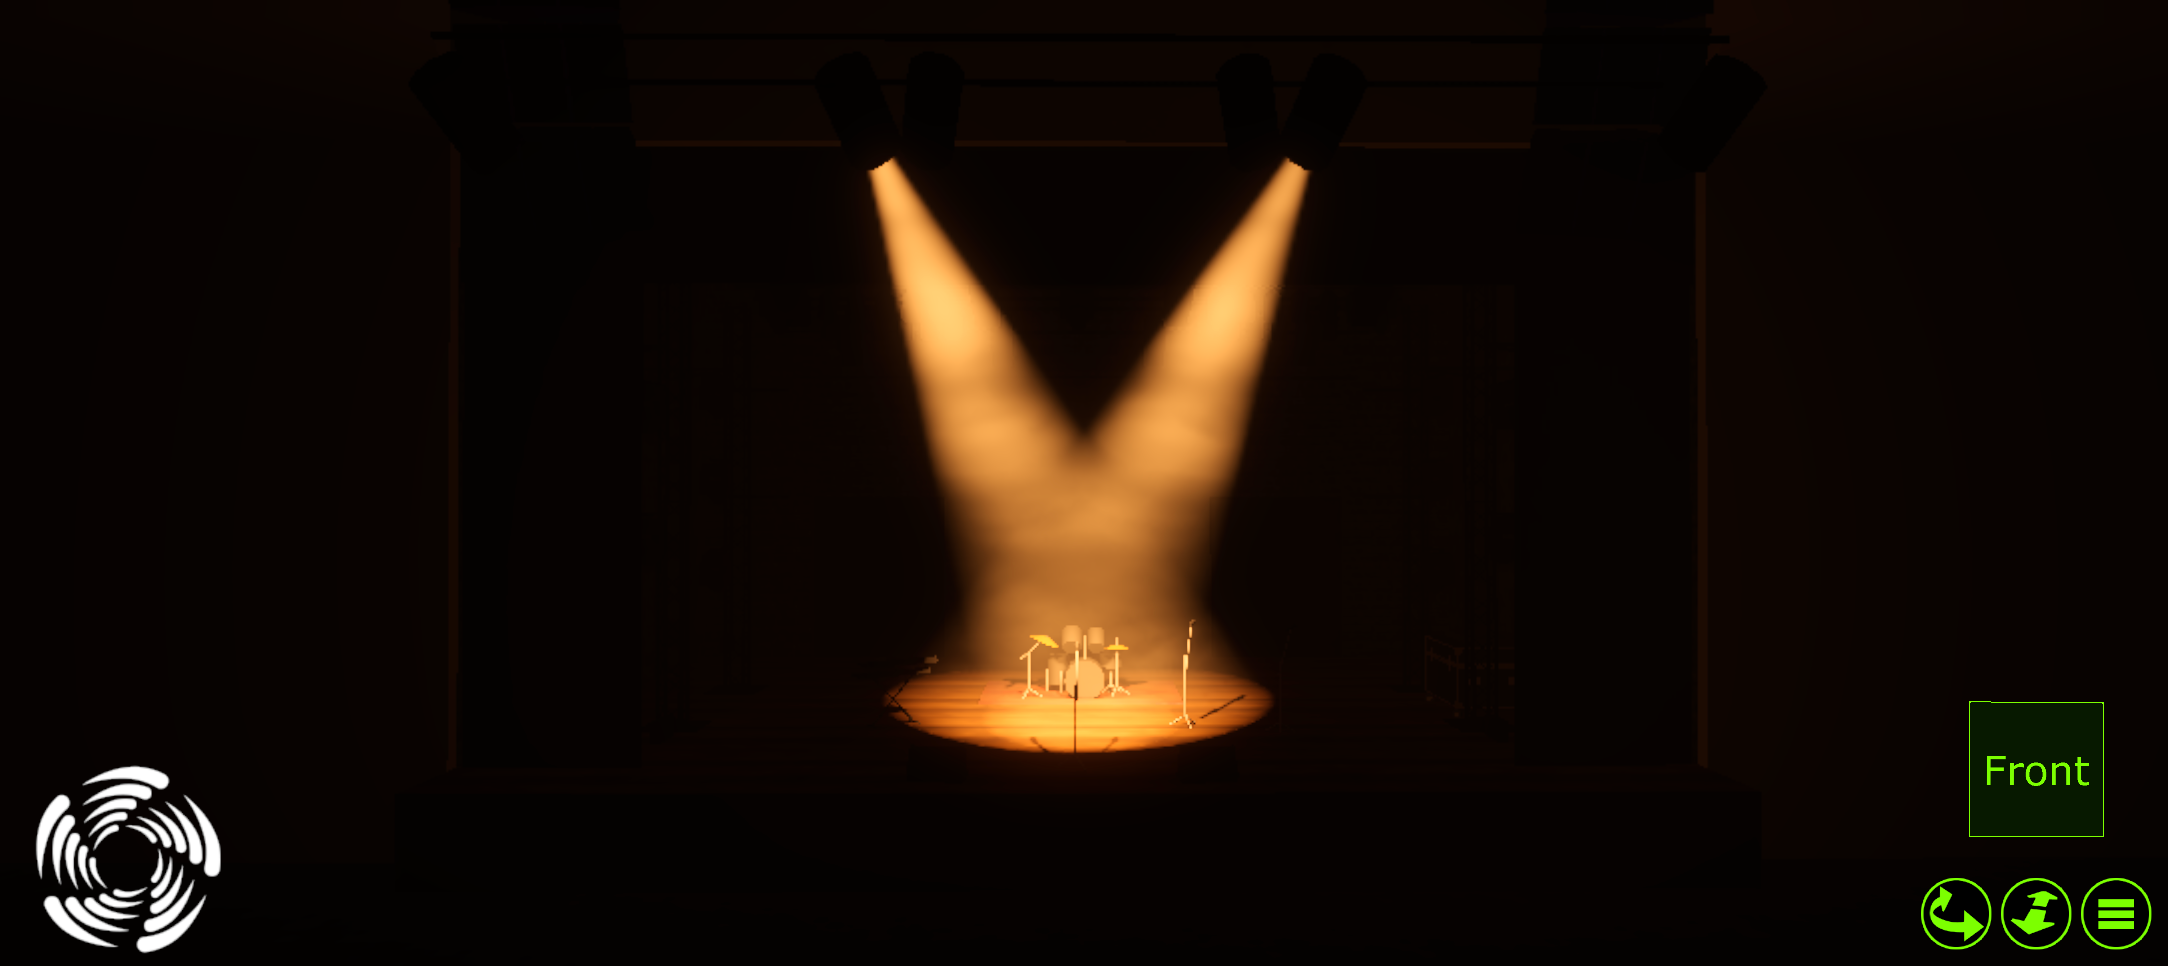
After linking the universe, you may notice that the Capture preview has gone dark. Beam is now telling all the fixtures to be off. Let's see if we can tell some to go back on.
In the Beam patch list interface, after selecting one or more fixtures, you may have noticed that the panel on the right contains a Test button. Try selecting the second of the Europe DW fixtures, and toggle Test to On.
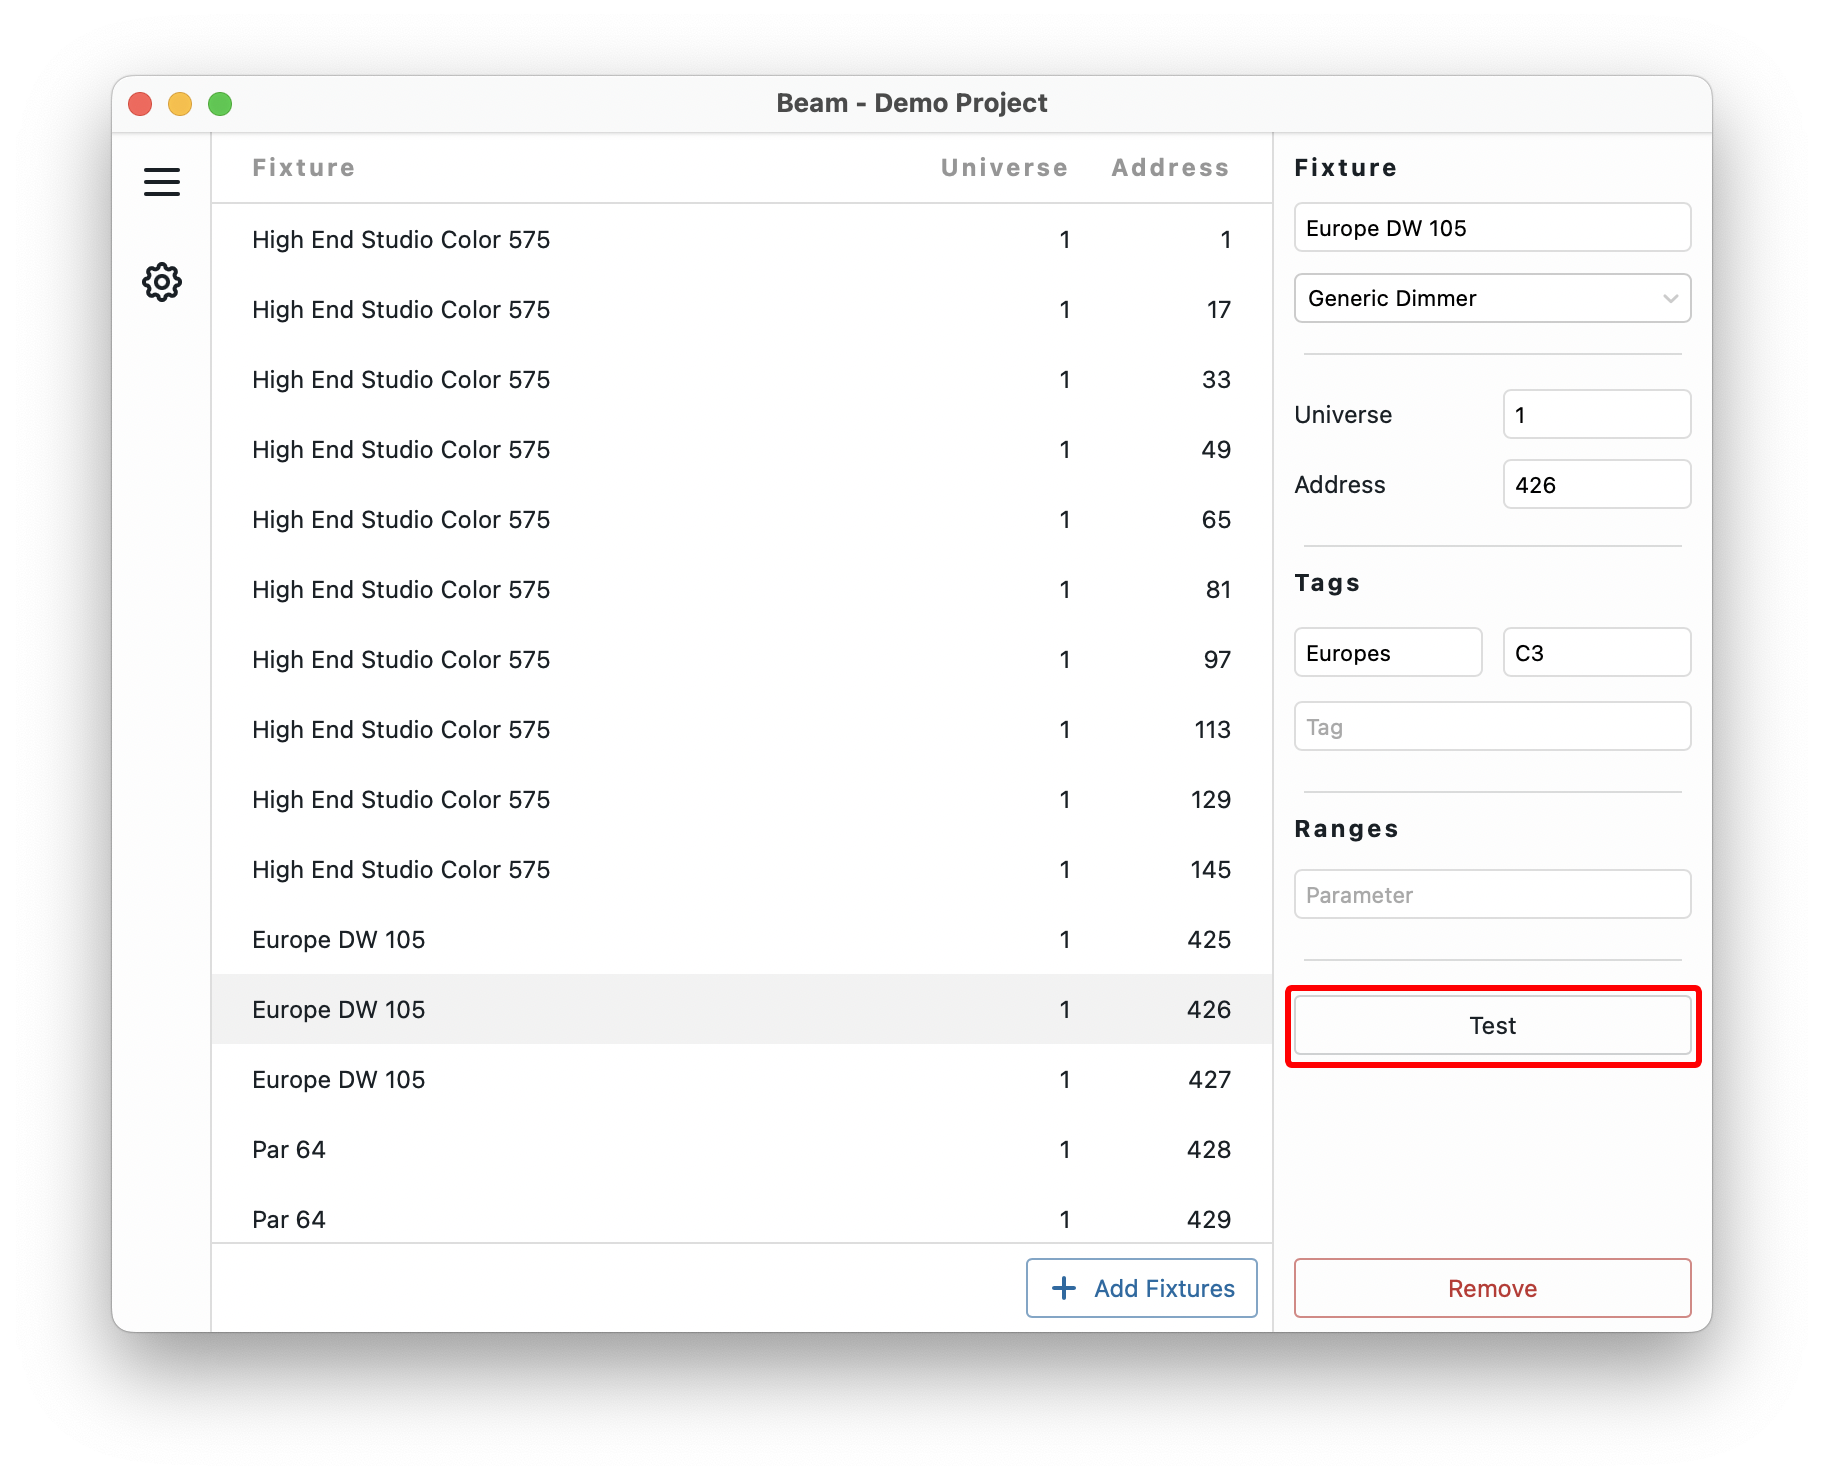
The intensity of these fixtures will now be set to maximum, meaning you should now see them light up in the Capture preview.
You will notice that one entry in Beam controls two fixtures in Capture. If you look at the Universes window in Capture, you will understand why. These two fixtures have been patched to listen to the same address, so they will always be controlled as one.
Don't forget to turn Test back Off for the fixtures you had turned on.
Good, this is where it gets fun. You are all set to create a new lighting composition in Ableton Live!